Brothers M. Mondays is our way of sharing our excitement about our chickens.
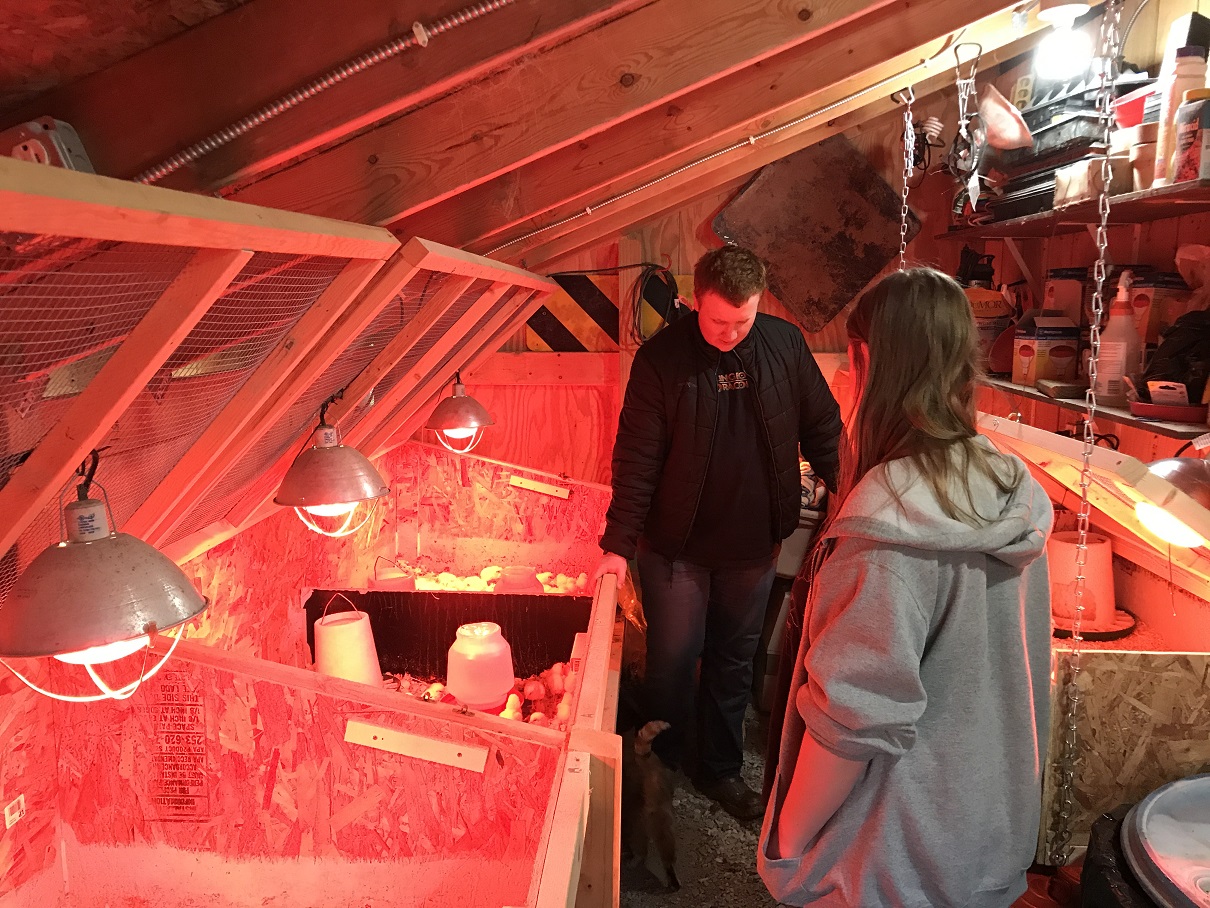 I decided we should have a dedicated brooder area so I cleared out my 8’x16′ lean-to and enclosed it. I lined one long wall with 2 3’x8′ brooder boxes. The back is 3′ high and the front is 2′ high. I chose 3′ wide to make it easy to reach the birds in the back; likewise, that’s why the front is shorter. The back is higher so I can fit a 3gal waterer under the lid. Additionally, I started out needing clearance for the lights which hung from the lid.
The lid is 2×2 frames with 1/4 hardware cloth, hinged in the back so it lifts up. I use safety hooks to fasten it down so raccoons cannot unhook it. I put additional eyehooks in the roof rafters so we can use the safety hooks to hold the lid up.
 I switched the lights to sit on top the lid vs hanging because the chickens kept knocking the lights and they would fail; we lost several birds one night because of that. So instead I sat the lights on top the lid, and attached the shroud to with pieces of wire. I had to cut a hole in the lid to allow the lamp to protrude through since it sticks out further than the shroud. This also comes in handy when I need to change a bulb.
 Used pickle barrels line the opposing wall and make a safe place to store the feed. These brooders will hold 100 chicks each.

 Turns out I should have been more concerned about how secure the heat lamps were attached via the squeeze handle. One fell off and burned a hole in the floor of the trailer. Fortunately the conditions were right and it only smoldered a hold the size of a basketball instead of starting a fire. Unfortunately I cannot find my picture of the hold. After that I fastened the lights securely to the lid, which looked pretty ominous from outside the tent.
 The down side of the trailer was running off an extension cord, how deep the trailer was for reaching onto it, and we outgrew it once we started raising more than 100 birds at a time.
 Our very first brooder box was thrown together with a lamp and a plastic tote for 20 guinea fowl we bought. But for the meat chickens, I needed something better and bigger. I converted a pallet crate into a brooder. I enclosed the crate on the outside with 2×4 wire fence to keep predators from breaking in. I used some scrap composite wood flooring for the floor, I was a little short so there were a couple places I filled in with scrap wood. The crate didn’t have a top or lid, so I used a regular pallet with 2×4 fence attached for the top. It wasn’t attached, but was heavy enough critters couldn’t move it.
 I lined the inside with pink 1/2″ foam board insulation. On the sides I attached some scrap Formica sheets to protect the foam board from being pecked and eaten, it didn’t protect all the way to the top, but that was only a problem when I temporarily hosed a grown bird in the brooder. I had a piece of foam board that covered almost the complete top, then I sat the pallet top/lid on to of that.
 An attached light to the side and a waterer and feeder and it was ready for chickens. This worked pretty good. But we quickly outgrew it, I think the max was about 30-35 birds.
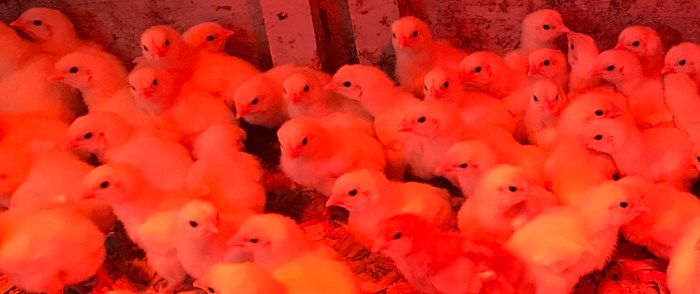
 Since the last Monday in May is a bit of a sneak and just snuck in on the last day, I thought a I’d post this picture. One of these chickens is a sneak, it’s not like the others. Due to a shipping issue we received a few layers this year with our regular Brothers order. Can you find the layer in this picture?
 We stored them in the fall on top of concrete blocks. It keeps the wood from sitting on the wet ground all winter long and helps keep the grass from growing through the apron. But this spring the grass got away from us before we got the tractors moved and it was rooted. Being on concrete blocks, it wasn’t as bad as it could have been. Using the weed eater, I cleared the grass from the top of the apron, and it pulled free pretty easy.

 I’ve been very pleased with ISA Browns. They are gentile, except we don’t seem to have good luck with Roosters; I’ve been told meanness is common in the light colored roosters. The egg production has been great. Longevity seems to be on par with what I’d read, 2 years being the peak for egg laying.