Brothers M. Mondays is our way of showing you how excited we are for the first Seymour Farmers Market
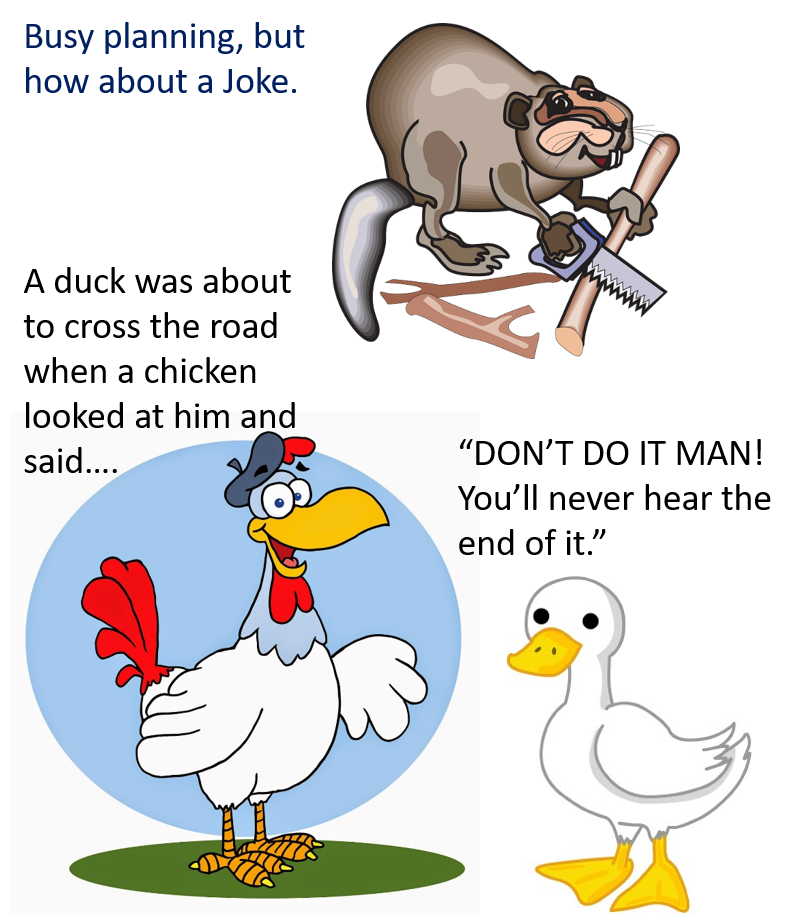
Since it’s still the Easter season, I thought we’d start out with this post.
I went out to the brooder to check on our new chickens, who had arrived the prior day. When I looked in, their resemblance to marshmallow Peeps was striking. They were all lined up with one eye on me. The pictures don’t do the initial pose justice as they moved around a bit when I lifted the lid to grab a pic, but you can still see what I’m talking abouth.
While these youngsters may look like they have a marshmallow center, I assure you they’ll grow into high quality protein.
No, these are not velociraptors; it’s Turkey time!
We’ve raised a small batch of turkeys to have more to offer. We have a couple whole turkey, ground turkey, and turkey wings & drumsticks for sale starting this weekend.
Whole turkeys are frozen in a bag. They’re $4.25/lb and weigh ~12 lbs.
Ground turkey is in 1lb bags and $10/lb
Turkey wings and drumsticks are $6.50/lb
We will have ground turkey and wings and drumsticks on hand at the Seymour Farmers Market starting 8/1 while supplies last.
** Preorder by 8pm on Fridays until 8/8 and receive a 10% discount. Deadline by 8pm 7/31 for 8/1 pickup or 8pm 8/7 for 8/8 pickup. Pickup at Seymour Farmers Market, times in Eastern.
Whole turkeys are preorder only, we will only bring them to the market once they are sold. *Preorder discount does not apply to whole turkeys.
Brothers M. Mondays is our way of showing you how excited we are for the first Seymour Farmers Market, LESS THAN A WEEK AWAY!
It’s been a fun year so far and this week I thought I’d showcase some of it.
First is the dynamic between Matthew and Samantha. Over the last year or so, these two have really come into their own and seem to bring out the good fun loving qualities in each other.
That attitude carried over into the care of the chickens. It has been interesting and a pleasure to watch these two work together; everything from joking and encouraging the chickens, to war cries when moving them
…and of course running.
And then there was a cow
And as a bright spot for the future, Olivia has been joining in the fun. She says she’s learning so she can help too.
Brothers M. Mondays is our way of showing you how excited we are for the first Seymour Farmers Market on May 30th and to get you psyched up for it too.
This week we’re showcasing replacing two rotting chicken tractor doors. And of course the kids had to have their fun. Hope you enjoy this video as much as I do.
Brothers M. Mondays is our way of showing you how excited we are for the first Seymour Farmers Market on May 30th and to get you psyched up for it too.
Wow, what a month February was. It’s been a little over a month since we kicked off the 2020 CSA season and our CSA slots are almost full. A huge thank you is in order for everyone who’s supporting us by ordering.
If your considering a CSA order, we have a couple slots open so let us know what you want.
Thanks again for getting 2020 off to a great start.
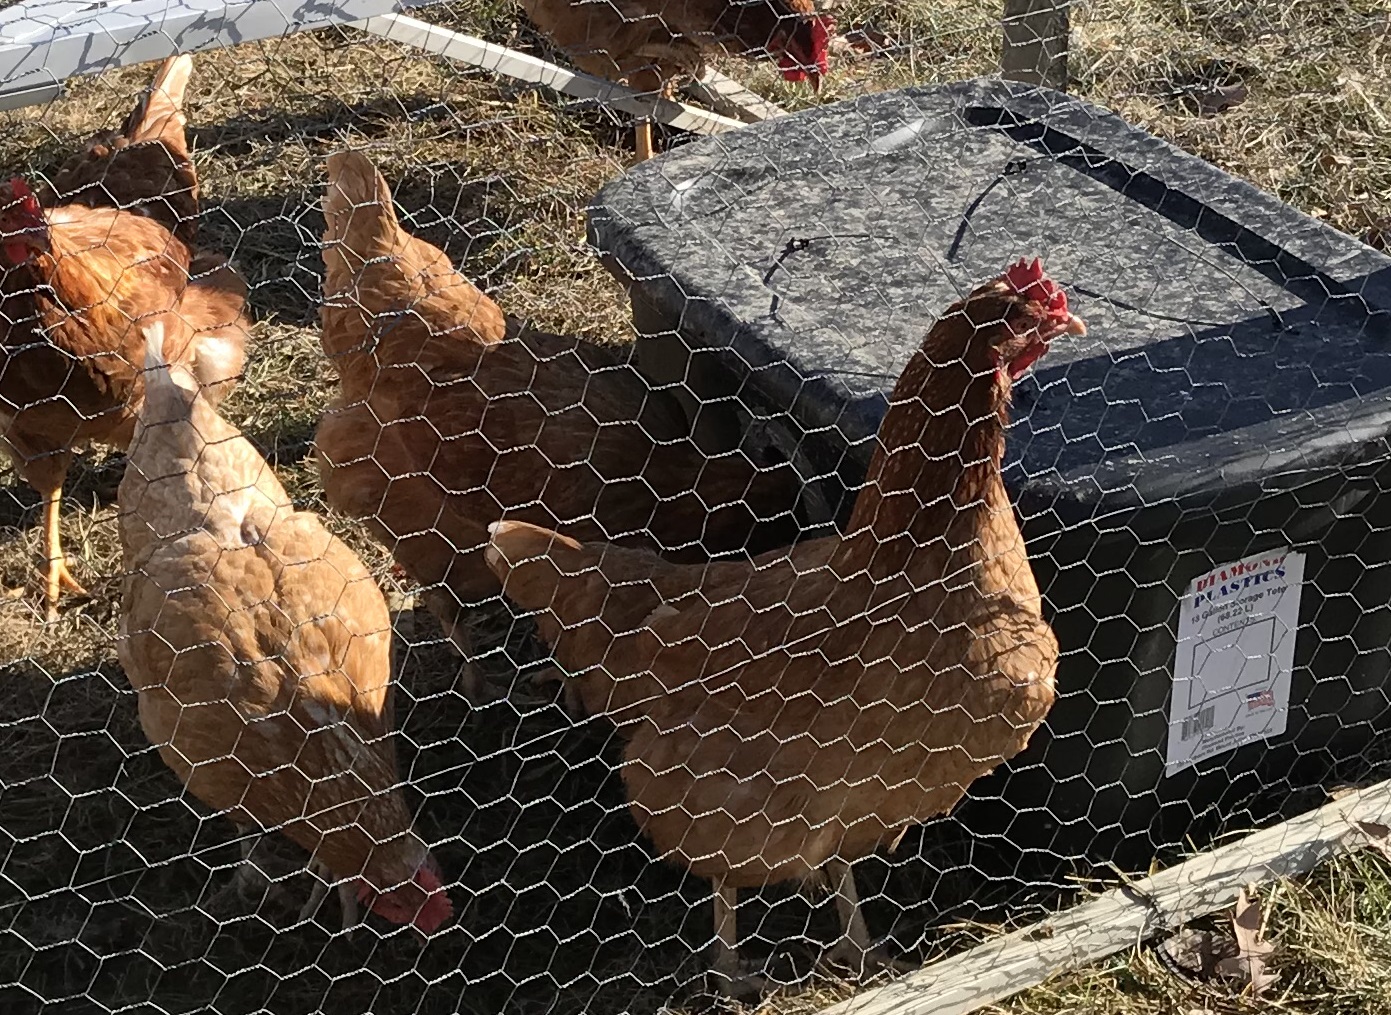
Providing unfrozen water in the winter can be a challenge and time consuming. Since we pasture the chickens “tractor” style with the portable coop, power to heat the water is the issue. I believe I’ve finally figured it out.
First year we started with multiple plastic waterers that we swapped out multiple times a day. This works decently, but the water still freezes, it’s labor intensive, and someone needs to be around during the day to swap waterers.
The next year we steped it up by heating the waterers with a light bulb. This worked pretty good, but required us to keep the coop within extension cord distance of an outlet and periodically water would freeze in the top of the waterer.
I did not do a post on the tire waterer. It was disappointing and it was easy to find info on it. However, I still had the tire and pan laying around so I threw together a quick pic for reference.
Last year I built a tire waterer to try and keep the chicken water from freezing. I put a board inside the tire on the bottom side, stuffed the inside of the tire with old tarps for insulation, and fitted a plastic pan in the tire. My experience with that was poor and I do not recommend it. The biggest issue was that the chickens would stand on the tire and mess in their water all day. By the time I got home to change it, it was pretty bad. It did help slow down the freezing process; however, being open air, it still allowed the water to eventually freeze solid, especially overnight.
I’ve been playing with an idea of an enclosed PVC and nipple system. Basically building an insulated box and filling it with 3″ tubes of PVC, shown in the graphic. There would be a cutout of frame and insulation in one top corner to allow access to add water. One bottom corner would have a smaller PVC tube that protruded through the box with a water nipple on the end. The front would be Twinwall Polycarbonate glazing to let the sun in and the inside would be painted black to absorb as much heat as possible.
It was getting cold this year and I needed to get a waterer made for the chickens so I decided to not build the PVC waterer for the following reason. One, my chickens are not trained to a nipple system yet. I’m having trouble figuring out how to attach the PVC box to the ‘Pequod’ chicken coop, especially since it’s going to be heavy and need decent support. The 3″ PVC fittings are expensive and I have concerns the metal part of the nipple would still freeze and cause issue.
I was basing the PVC system on principals I learned from this solar horse tank. Then it hit me, how about trying to replicate the horse tank at a chicken waterer size! Since the amount of water would be significantly less, I wouldn’t want to leave the top exposed, but chicken heads are small, so I took a gamble that they’d stick their heads through a hole instead.
My first thoughts were to use a bucket, but I didn’t like the clearances nor dealing with bending and attaching the polycarbonate glazing. So I decided to use a tote, black obviously so it will absorb the heat from the sun.
Using similar principals as the solar horse tank. I first put 2″ foam on the bottom to have an insulated base to sit the water on. I measured from the top of the foam to the bottom of the lid and subtracted 2 inches for the foam that would be attached to the lid. This gave me the height for the foam sides and Twinwall Polycarbonat glazing
Next I added the 2″ foam to the sides. I looked at the shape of the tote and measured across the end where I could fit a straight piece of foam. The bottom of the tote is narrower than the top, measured top and bottom and cut sloped pieces of foam.
I measured from the floor to top and between the insides of the sides to cut a rectangle out of the front of the tote for the window. I cut a piece of polycarbonate glazing slightly larger, about 1/2 to 3/4 inch, than the hole on the sides and bottom so that the foam could help hold it in place. I used duct to hold and seal the polycarbonate glazing in place; this also sealed the tubes. I put the scrap piece of plastic from the side on the floor in front of the window to try and suck in more heat.
On the other side, I placed the water bowl in the tote and used the top of the bowl to mark the bottom of the drinking opening. Using a hole saw, I cut two overlapping circles to make the oval shaped opening for the chickens to sick their head in to drink, cleaning up the oval edges with a utility knife.
I thought it would be better to use a thinner foam where the hens stick their heads in, so I cut a piece of 1/2 inch foam, from scrap I had, to cover this side, removing the same oval. I used duct tape to hold the foam pieces together and seal the seams. I also used several pieces of duct tape to secure the foam to the hole and prevent the chickens from rubbing the foam.
Next I cut the 2″ foam for the lid making it fit snug when placed in the tote, but not too snug as it’ll need to be opened and shut frequently. With the foam in the tote and the lid on, I drilled 4 sets of 2 holes so I could use zip ties to secure the foam to the lid. I also cut some small squares of plastic from something in the recycling to prevent the zip ties from digging into the foam and pulling through.
From the drinking hole, I wanted to minimize the surface area of the incoming air over the bowl. I used 2″ foam to make a bridge over the bowl, then added 1/2 foam on either side of the hole to create a smaller cavity where the outside air had direct contact with the water.
At this point I put the waterer into action; however, I forgot chicken peck. I’m not sure why I thought they wouldn’t peck the foam bridge, but I did and they did, effectively destroying the bridge.
So… I redid the bridge. I used corrugated plastic from an old ‘For Sale’ sign I had on all the pecking sides of the bridge and plenty of duct tape to hold it in place. The 2″ foam was replace with 1/2″ foam over the bowl. I didn’t account for needing to remove the bowl to clean it and the 2″ foam made it so I had to tip the bowl to get it out. Now I don’t have to.
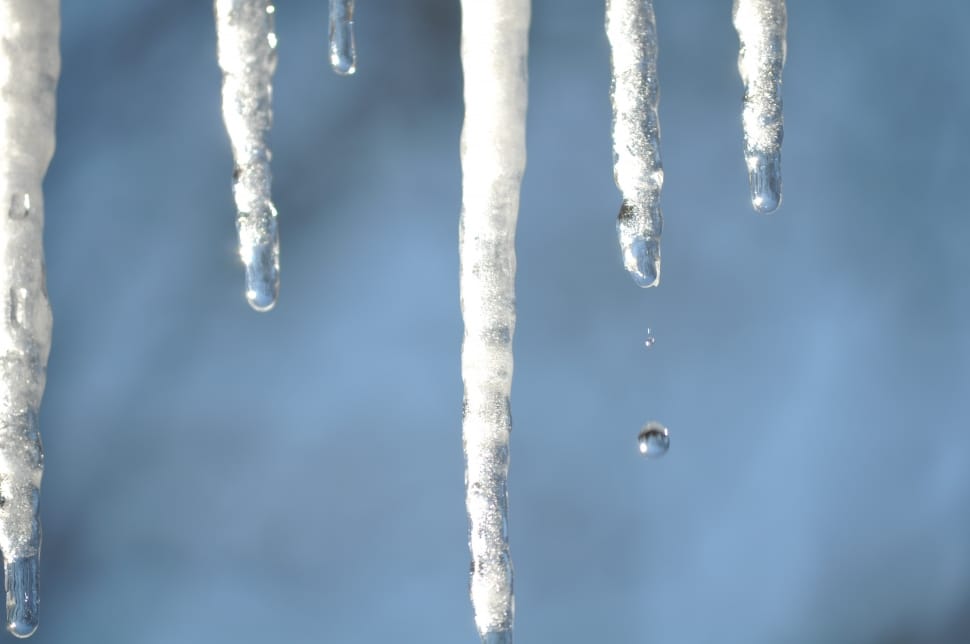
How well does it work? Great. Basically, overnight at 15-19 degrees Fahrenheit I had about 1/8 inch of ice frozen on the top of the bowl. Down in the teens is a bit thicker. In the morning if the bowl was full of water, pull the bowl out and bang it upside down on the ground to remove the ice. If it’s half or less, then fill it with warm water from the tap and melt the ice that way.
During the day, in the teens and twenties the water stays unfrozen, especially if there is sun, but even on overcast days, there should be enough solar to keep it unfrozen. Unfortunately, we only had a few days this winter where it stayed below freezing night and day for 2 or more days, so I cannot give accurate results for long cold spells; however, given what I’ve seen so far it should work great. The heat from the warm water in the morning in conjunction with the passive solar heat should keep the water from refreezing during the day.
With all my scraps, this was a pretty cheap build and worth every penny. $6 for the tote and $10 for the rubber bowl, and $20 for the polycarbonate glazing. (the link isn’t the one I purchased, but this is a similar 5 pack) I had 2″ and 1/2″ foam left over from insulating the basement and other projects.
Our off-season hiatus is over and the 2020 season is officially kicking off. We’ve been reviewing, planning, and scheduling so we could get the 2020 info out to you.
We’re now taking orders for our CSA. Please consider ordering a CSA to get our best pricing and guarantee your spot in line for chicken in case we sell out early again.
Your support through our CSA support it is the heart of our operation. Without it, we wouldn’t be able to provide produce our quality chicken for you.
This year we have to increase our prices for the first time. To help compensate, you’ll notice we’ve increased the CSA discounts. It makes even more sense than ever to purchase a CSA.
Check out our CSA Page for full details and to order.
 Brothers M. Mondays is our way of showing you how excited we are for the first Seymour Farmers Market
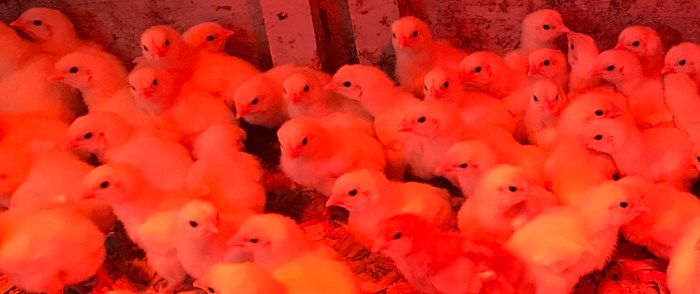


 Providing unfrozen water in the winter can be a challenge and time consuming. Since we pasture the chickens “tractor” style with the portable coop, power to heat the water is the issue. I believe I’ve finally figured it out.