Brothers M. Mondays in May is our tradition of sharing our excitement about our chickens every Monday in May.
It’s easiest to have a long enough piece of pasture that you can run the chicken tractors in one direction from start to finish. Our pasture is long enough to do this; however, the contour of our pasture makes it better for the chickens to start near middle. So we have to change direction midway through the growing season.
Our pasture is high near the middle, highest maybe 1/3 it’s length toward the road end. The slop near the road is a gentle slope and the house end is more aggressive. This makes the road end a marshy area in the early spring when all the rains come and the house end a river. Neither are good for young chickens in the cold nights of spring.
 Our solution is to start the chicken tractors on the high ground and head toward the road, then reverse direction and head back toward the house. This means we need a wider area to run the chicken tractors so we don’t overlap where they’ve already been. Basically 6 lanes, 3 forward, 3 reverse.
It’s easy to move the chicken tractors in either direction, but moving over out of the previous track has proven harder than it sounds, at least for me.
My first thought was to sit the tractor on four 1 1/4″ PVC pipes and just sliding it over. It was easy to slide the tractor over, but since PVD pipes come in 10′ lengths and the chicken tractor boards are 10′ 1.5″ apart, I needed extra sections of pipe. Additionally, the chickens were confused about which way to move and it’s harder to convince them to move sideways. Overall this was more labor intensive and frustrating.
 Next I played around with turning the chicken tractor hard in one direction. Either way I tried this, it always took more distance than I thought to get the tractor on the right path. When doing a hard turn it’s difficult to push and the side aprons bend under the chicken tractor and you have to pull them out. Again, the chickens are used to going forward and you have to be careful not to run over them with the side of the tractor.
The method on the right in this illistration wasn’t too bad, but this method took up a lot of space with wise. Our pasture has a V shape and drains down the middle, so we only have enough “smooth” area for the 6 paths plus the “river” in the middle during heavy rains. Also the first move in the reverse direction was pretty long, so I didn’t like this method either.
 Finally I did a LONG walk forward with a medium turn to the side, then reversed direction with another medium turn and this worked much better. I modified it so instead of a LONG walk, I do a generous move of the chicken tractor twice, then reverse direction. The first reverse move is a little longer than normal, but not a Long walk. Occasionally a little corner of the previous path overlaps, but it’s under the front cross member and not a problem.
I consider myself decent at geometry and puzzling things together and these moving patterns may seem obvious; but, there’s nothing like doing a hard turn forward with a chicken tractor, then doing a hard turn in the opposite direction just to realize you’re basically where you started. Also, my drawings are not the best and may not be completely accurate, but I CAN tell you the last one is the one that’s easiest for me even if I cannot exactly explain/demonstrate what was wrong with the others.
 In the early years, I adopted the line of thought of keeping food always available to the chickens. This meant 2 feeders were adequate to feed all the chickens, because they were not all hungry at one time.
 One of the two tractors developed holes in the chicken wire late last year, I think from birds landing on it, so I knew I needed to replace some of the wire this year. What I didn’t know was that ants had destroyed the front board of that tractor. Here’ a picture of what I replaced at the 11th hour to get me through this year, one section of wire over the top, new front board, and new chicken wire on the front. The 2nd tractor didn’t have holes yet, so I just added some fencing over the same area I replaced on the first. That will get us through the growing season.
 Rust is the main factor in rebuilding the chicken tractors. All the chicken wire needs replace. Some would easily break off while the rest is getting there. Here’s a flattened pile of the wire. The top, is the worst place, but the sides are not too far behind. I think next time once it appears the wire may start rusting, I’ll treat it with some anti rust spray.

 We still needed more brooder area, but I really didn’t want to dedicate more area to just brooders so I came up with the idea of fold up brooders that hang on the wall.
 I made two 2’x4′ hinged brooder boxes. The bottom is hinged to the wall so it folds down, the two sides fold into the floor, and the front is hinged to Fold under the bottom. The lid had hinge pins so you could take it off and hang it on the folded down brooder or store it someplace else.
 To support the front of the folding brooder, I hung chains from the rafters with S hooks on either end to unhook from the brooder and remove from the rafter to store the chains away.
 So, I decided to take them out and make a 4×4 in the back corner. A family member made a similar brooder to this one and gave me the idea. The idea is that it’s 4’x4’x1′ so you can make it out of one 4×8 sheet. I made mine a bit taller and added a strip of wire mesh, this was to give me a little more height for waterers and feeders, and I thought I might make more and stack them for transporting the full grown grown chickens, the latter never really panned out.
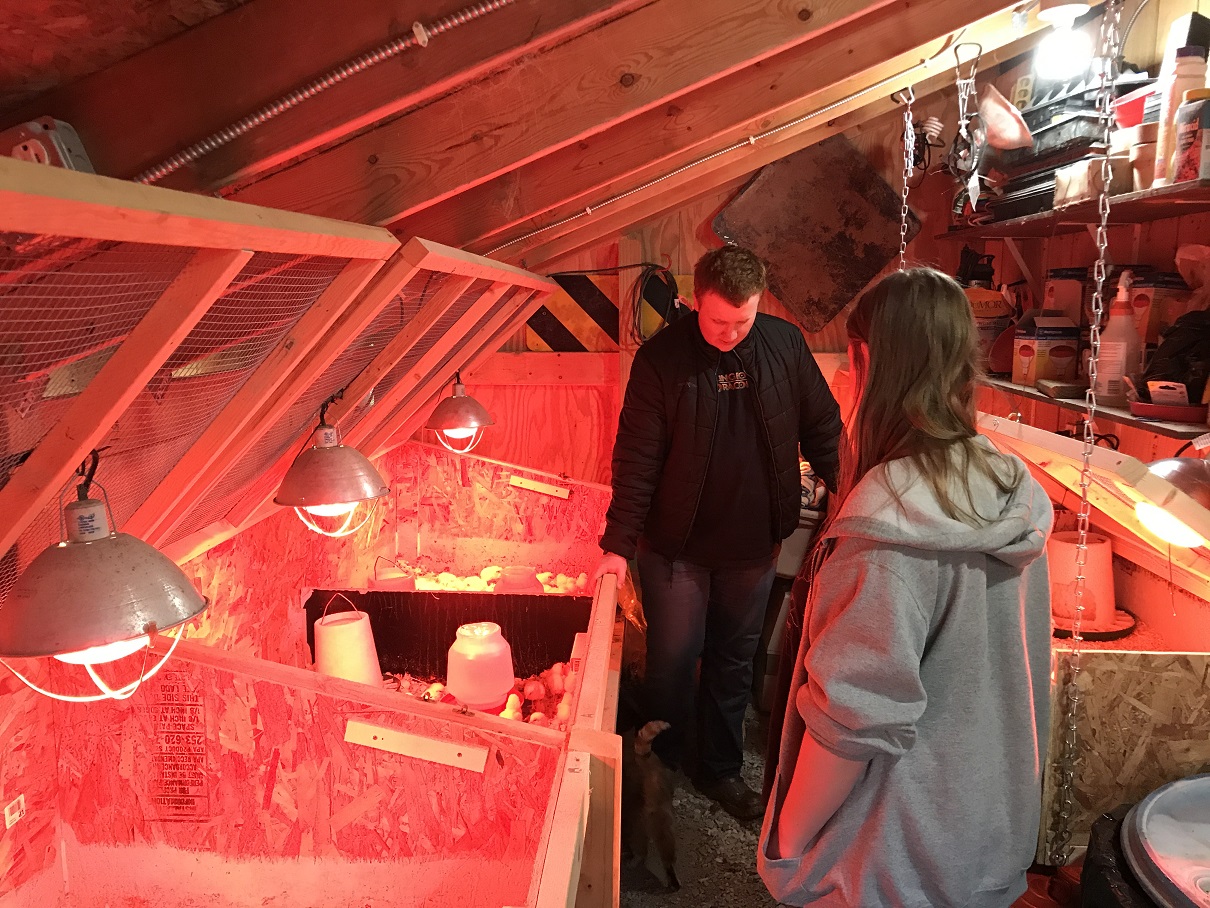


 Turns out I should have been more concerned about how secure the heat lamps were attached via the squeeze handle. One fell off and burned a hole in the floor of the trailer. Fortunately the conditions were right and it only smoldered a hold the size of a basketball instead of starting a fire. Unfortunately I cannot find my picture of the hold. After that I fastened the lights securely to the lid, which looked pretty ominous from outside the tent.
 The down side of the trailer was running off an extension cord, how deep the trailer was for reaching onto it, and we outgrew it once we started raising more than 100 birds at a time.
 Our very first brooder box was thrown together with a lamp and a plastic tote for 20 guinea fowl we bought. But for the meat chickens, I needed something better and bigger. I converted a pallet crate into a brooder. I enclosed the crate on the outside with 2×4 wire fence to keep predators from breaking in. I used some scrap composite wood flooring for the floor, I was a little short so there were a couple places I filled in with scrap wood. The crate didn’t have a top or lid, so I used a regular pallet with 2×4 fence attached for the top. It wasn’t attached, but was heavy enough critters couldn’t move it.
 I lined the inside with pink 1/2″ foam board insulation. On the sides I attached some scrap Formica sheets to protect the foam board from being pecked and eaten, it didn’t protect all the way to the top, but that was only a problem when I temporarily hosed a grown bird in the brooder. I had a piece of foam board that covered almost the complete top, then I sat the pallet top/lid on to of that.
 An attached light to the side and a waterer and feeder and it was ready for chickens. This worked pretty good. But we quickly outgrew it, I think the max was about 30-35 birds.
 I touched on the light for the Portable Chicken Coop in the
  I purchased a pack of
  access to the wires on the back side for easy soldering and such. One of the main issues with breaking the bases was that I struggled getting the right angle drilled for the screws on the round pipe. A flat piece of wood should allow me better control on the angle.
 Originally, I wasn’t planning on any protection for the lights, thinking the light was high enough on the ceiling that it wouldn’t get hit. However, when I did a fit on the lights, the clearance really wasn’t’ that high, so I decided to make some protectors. I had sections of 1/2 x 1inch chicken floor that I replaced with 1×1 wire. I cut 3 pieces of this, curled the wire ends so I could attach it with screws and voilà protected lights.