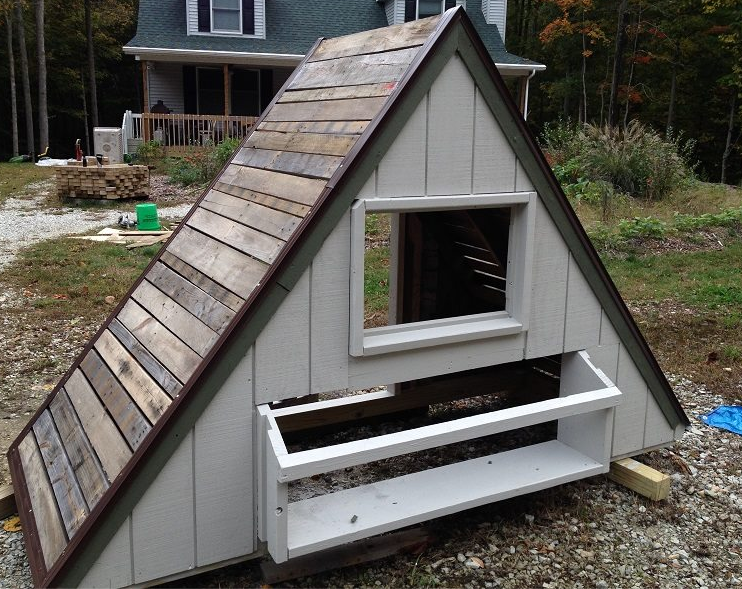
In fall of 2014 I decided I wanted to raise some dual-purpose chickens. My focus is on a breed that lays good eggs which can be incubated to raise “panfry” broilers, pre-Cornish-Cross size meat birds. So how about an update on how I move the coop.
I tried to keep the size of the coop minimal so that it could be easily moved. It’s still heavy and challenging to move. My initial thought was to add permanent retractable wheels to one end and add some sort of a trailer type tongue to the other end for lifting an pulling. Due to the weight, the tongue never happened. Instead I still used the retractable wheels, but also put a sledge under the opposite “tongue” end and pulled it like a sled.
This wasn’t optimal. The coop was too heavy for the retracting mechanism I made for the wheels. It was also hard to lift the coop to put the sledge under the other end to drag it with. Additionally, in the spring I had to use the tractor to move it because the garden tractor would get stuck, #1 The Coop.
So I scrapped the contraption I made for the exten dable wheels and decided to use temporarily attached wheels instead. I scavenged two more wheels from the front of a dead riding lawn mower. For axils, I use 8″ bolts that are the same diameter as the original wheel axils. I drilled holes through the coop’s 4×4 bottom frame and just slide the wheels and bolds right on. I added some spacers between the wheel and wood to prevent rubbing.
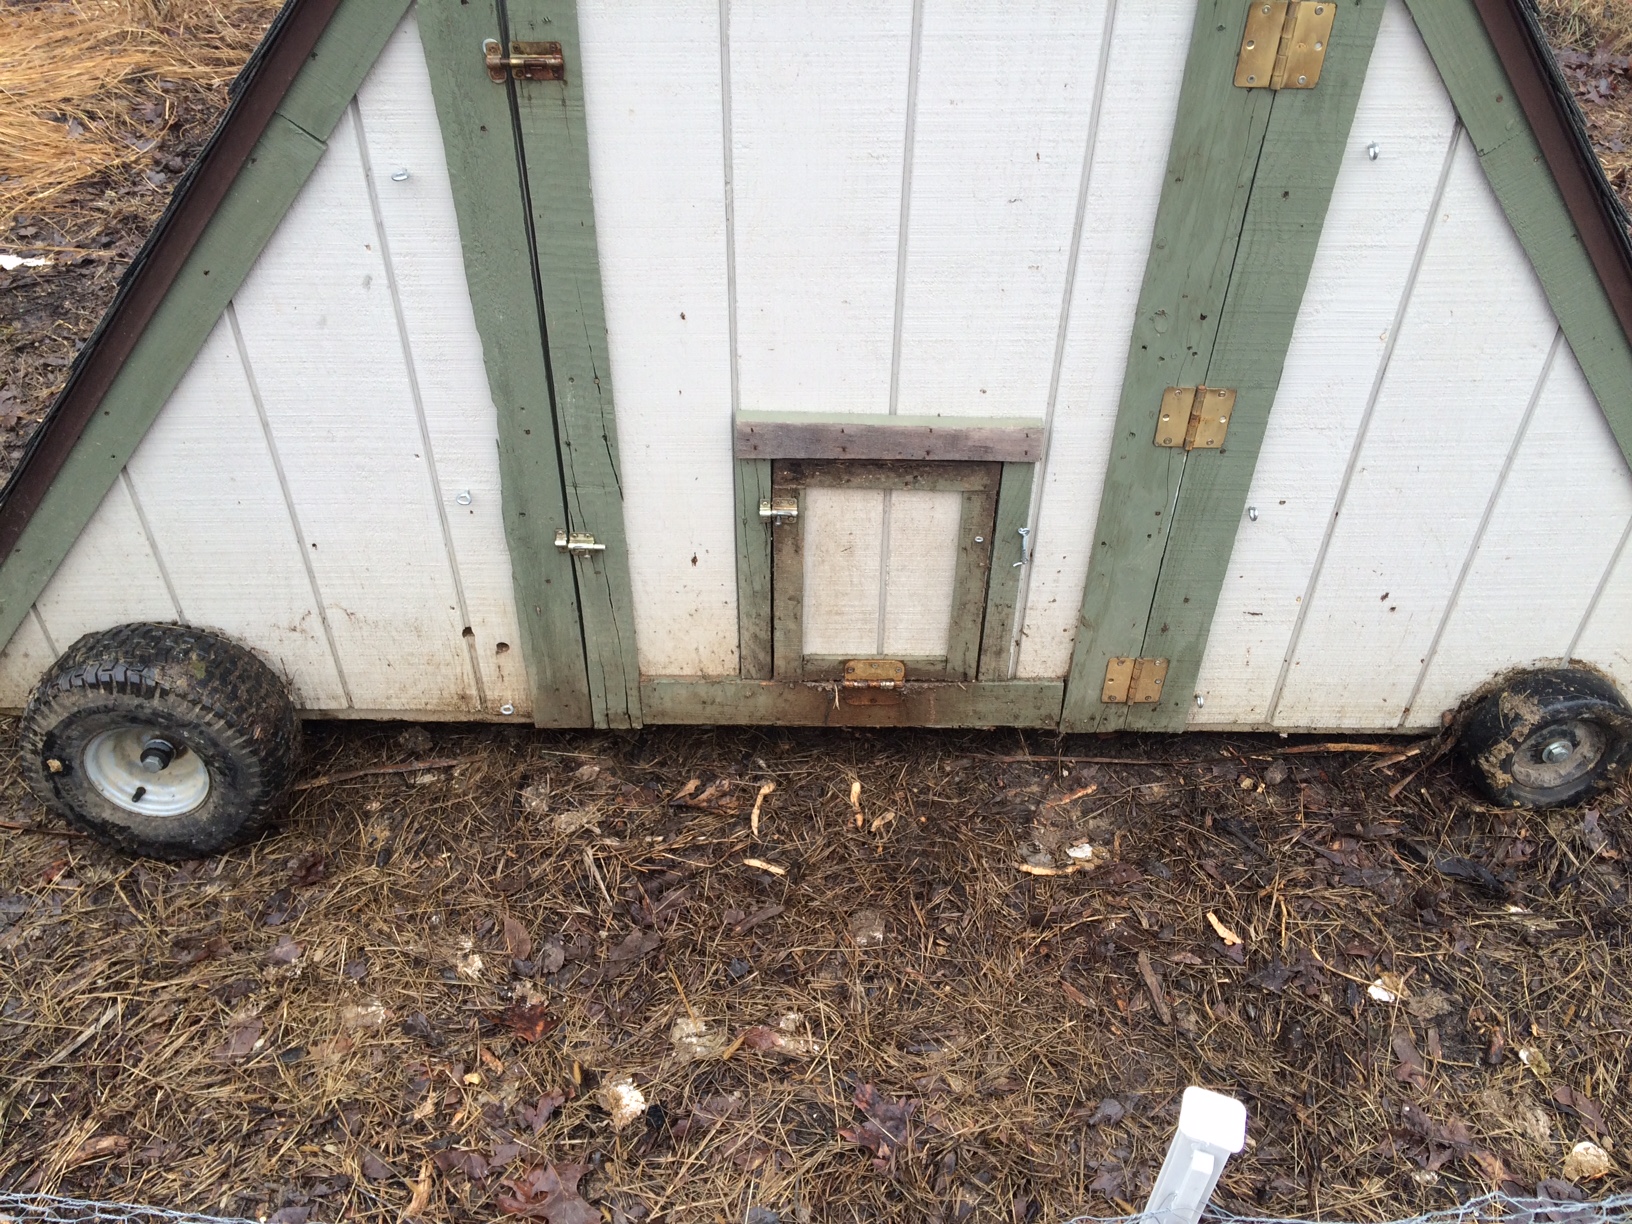
This works well. Our winter area can get mucky, as you can probably tell by the picture to the right; however, the wheels still allow us to pull/push the coop by hand. A small scrap piece of chain added to one end helps us to pull or allows us to use the garden tractor for longer distance hauls.
The main downside of this method is that it requires at least two people to tip the coop and put the wheels on. You could use a lever or jack to raise each side, but since I have two boys, it takes just a few minutes to tip the coop each way and add the wheels.
-Jason