Brothers M. Mondays is our way of showing you how excited we are for the first Seymour Farmers Market.
It was awesome to see all the smiling faces Saturday at the marker. A bit cold, but awesome.
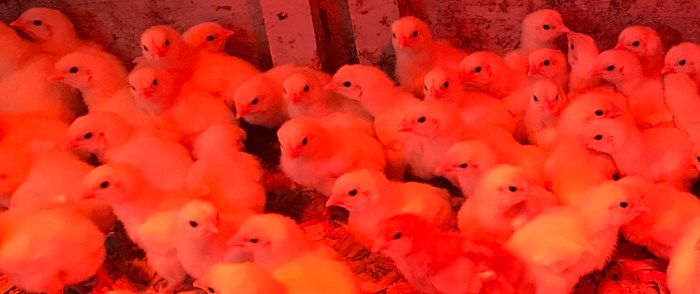
Since the last Monday in May is a bit of a sneak and just snuck in on the last day, I thought a I’d post this picture. One of these chickens is a sneak, it’s not like the others. Due to a shipping issue we received a few layers this year with our regular Brothers order. Can you find the layer in this picture?
Brothers M. Mondays is our way of showing you how excited we are for the first Seymour Farmers Market
Having an apron of wire mesh around the chicken tractor is a must to keep the chickens safe. However, when not in use, the chicken tractors can get rooted to the ground with grass grows through the apron.
We stored them in the fall on top of concrete blocks. It keeps the wood from sitting on the wet ground all winter long and helps keep the grass from growing through the apron. But this spring the grass got away from us before we got the tractors moved and it was rooted. Being on concrete blocks, it wasn’t as bad as it could have been. Using the weed eater, I cleared the grass from the top of the apron, and it pulled free pretty easy.
Seeing the chicken tractors like this made me think of the crew on Davy Jones’ ship in my favorite Pirates of the Caribbean movie and how they became part of the ship. With pirates on my mind, the chicken tractor looked like a ship busting through waves as I pulled it across the field.
Brothers M. Mondays is our way of showing you how excited we are for the first Seymour Farmers Market
Cold is always a risk raising chickens on pasture especially freezing temperature, such as what happened on 4/21. We start our birds as late in the season as we can while still having chicken available for the first Seymour Farmers Market. Fortunately when this cold and snow came this year, the chickens were still snug in their brooders with the heat lamps.
However, the cherry trees didn’t have that luxury and they are one of Olivia’s favorite trees. I’m not sure if it was the right thing do to, but I sent her out to get the snow off the trees to help protect the blossoms. Not only was it fun to watch, but we have plenty of cherries growing, so I think it helped.
Brothers M. Mondays is our way of showing you how excited we are for the first Seymour Farmers Market
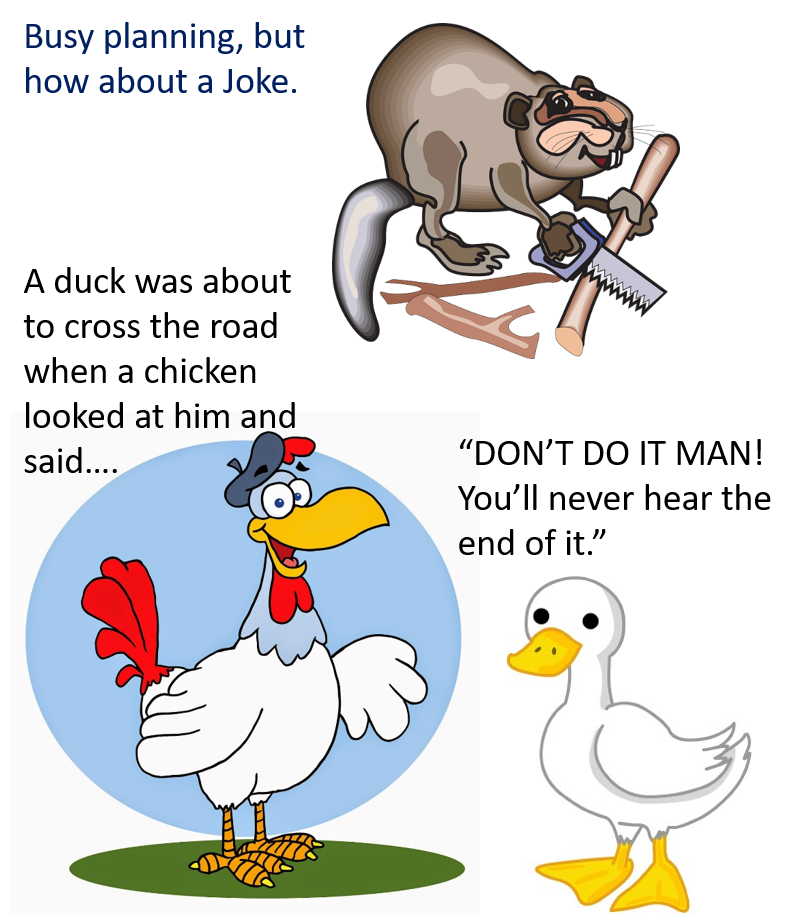
Since it’s still the Easter season, I thought we’d start out with this post.
I went out to the brooder to check on our new chickens, who had arrived the prior day. When I looked in, their resemblance to marshmallow Peeps was striking. They were all lined up with one eye on me. The pictures don’t do the initial pose justice as they moved around a bit when I lifted the lid to grab a pic, but you can still see what I’m talking abouth.
While these youngsters may look like they have a marshmallow center, I assure you they’ll grow into high quality protein.
I’ve been very pleased with ISA Browns. They are gentile, except we don’t seem to have good luck with Roosters; I’ve been told meanness is common in the light colored roosters. The egg production has been great. Longevity seems to be on par with what I’d read, 2 years being the peak for egg laying.
But what about winter laying of ISA Brown chickens, especially supplemental light?
In my review of the Buff Orpingtons and the Rainbow breeds as Dual purpose birds, one of the things I mentioned was that artificial light was needed to keep these breeds laying in the winter. From what I’ve read, breeds that are bread for egg laying will lay through the winter without additional lighting. I’ve even heard first hand of Rhode Island Reds laying through the winter without additional light.
I’ve not had that luck with my chickens, including the ISA Browns. Last year I did not provide extra light and they stopped laying. I could not pin down for sure if it was the light, stress, cold, or water conditions, detailed in my solar tire saga.
This year, winter 2020/2021, when egg production started dropping off, and basically stopped, I was again having predators stressing the birds, including even losing some birds. However, cold and water were not an issue, see best solar water. So I went ahead and introduced artificial lighting in the mornings and evening to ensure the birds were getting 12+ hours of light. To my satisfaction, egg production not only increased, but our egg production returned to normal. Of course, the predator situation was also taken care of; however, after a couple more months of good production, I really think it was the light.
The down side to this is that I didn’t size the solar panel and battery to accommodate running the light this much. The solar panel does help, and for now I’ve ended up adding an additional deep cycle battery and swap batteries every 5-7 days if it’s been overcast, not as hands off as I wanted. I haven’t done any calculations, but I’m considering a larger solar panel, but in the summer it would be extreme overkill just to run the automatic door. In the meantime, it’s still better than how frequently I had to change batteries without a solar panel.
Another note about the cold. Our chickens don’t seem to be bothered by the cold. The research I’ve done indicates that if you’ve chosen a cold hearty breed, which I have, then as long as you provide a dry area that’s out of the wind, the chickens will be fine. The worst thing for them is to be wet in the cold. Our coop has an open floor, but 4 solid walls and windows to let the sun in. The lowest roost is a foot off the floor, which allows for wind blockage.
I’ve tried frequent waterer swapping, the lightbulb waterer, and a solar tire, but this solar waterer is the best design yet for my needs. In part 1 I talked about the concept and design, this post actually included my 2nd update about using plastic to shield the insulation from pecking. So this is my 3rd and possibly the last, update on this water.
When I put the waterer out this year, I was pleased to see the older chickens remembered what it was and taught the new ones; thus, bypassing needing to do any training.
Forgot before picture so I laid the pieces I cut back into place.
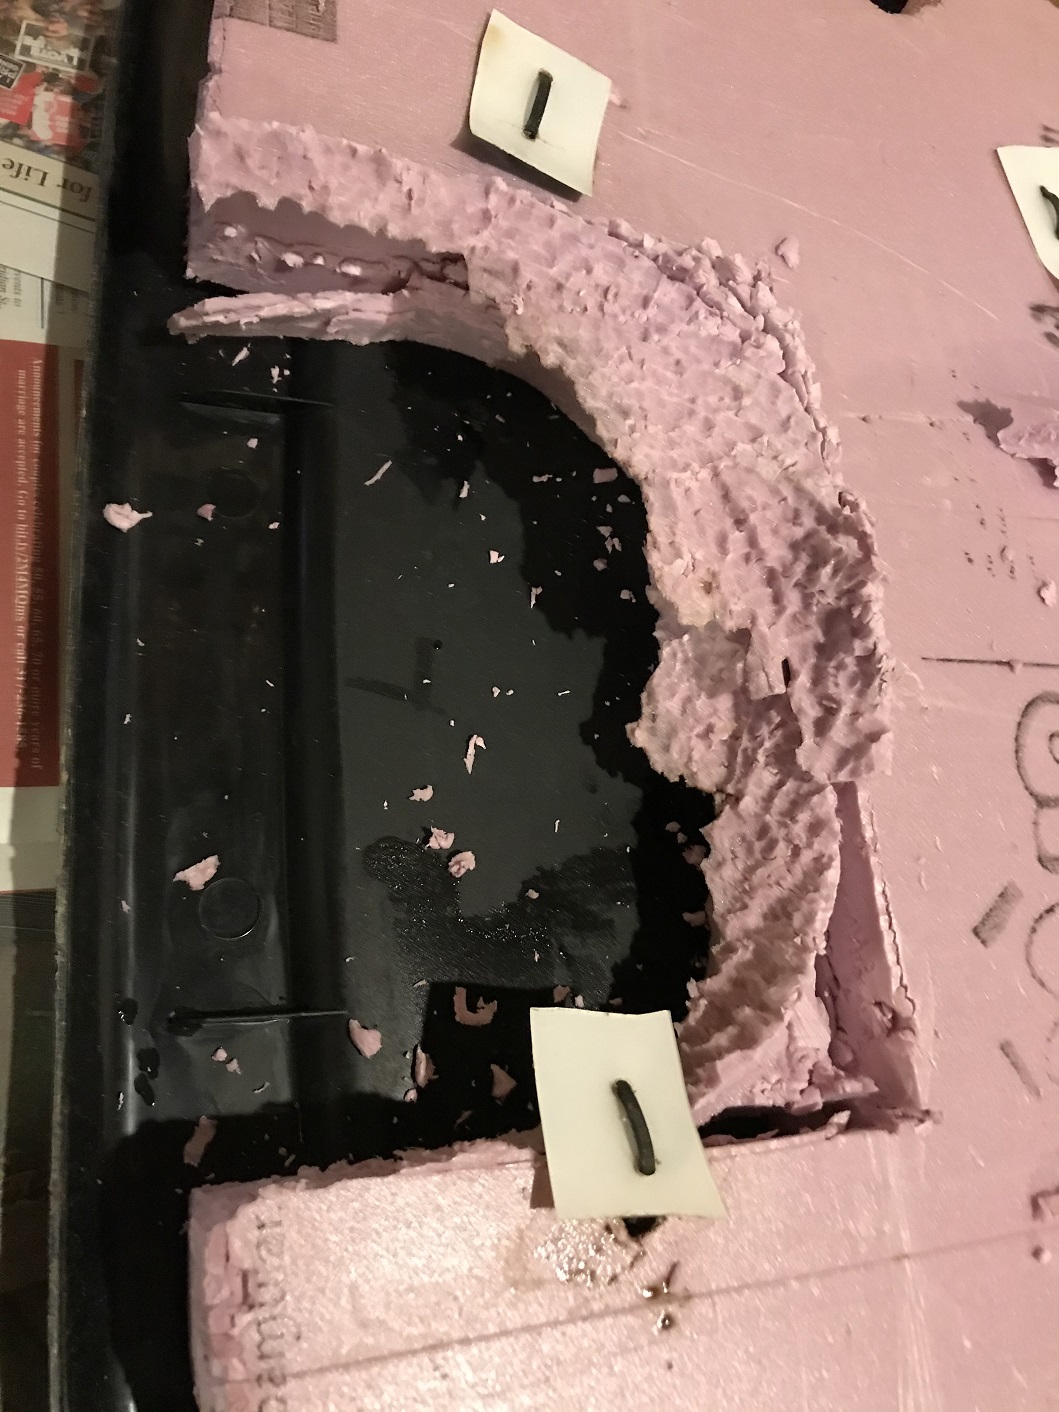
However, I underestimated the destructive power of chickens and they had pecked all the insulation off of the lid directly over where they stick their head in. This suprised me. Basically the chickens are sticking their head in a hole roughly the size of an elongated baseball. Then looking up and pecking the top in the small cavity I left open.
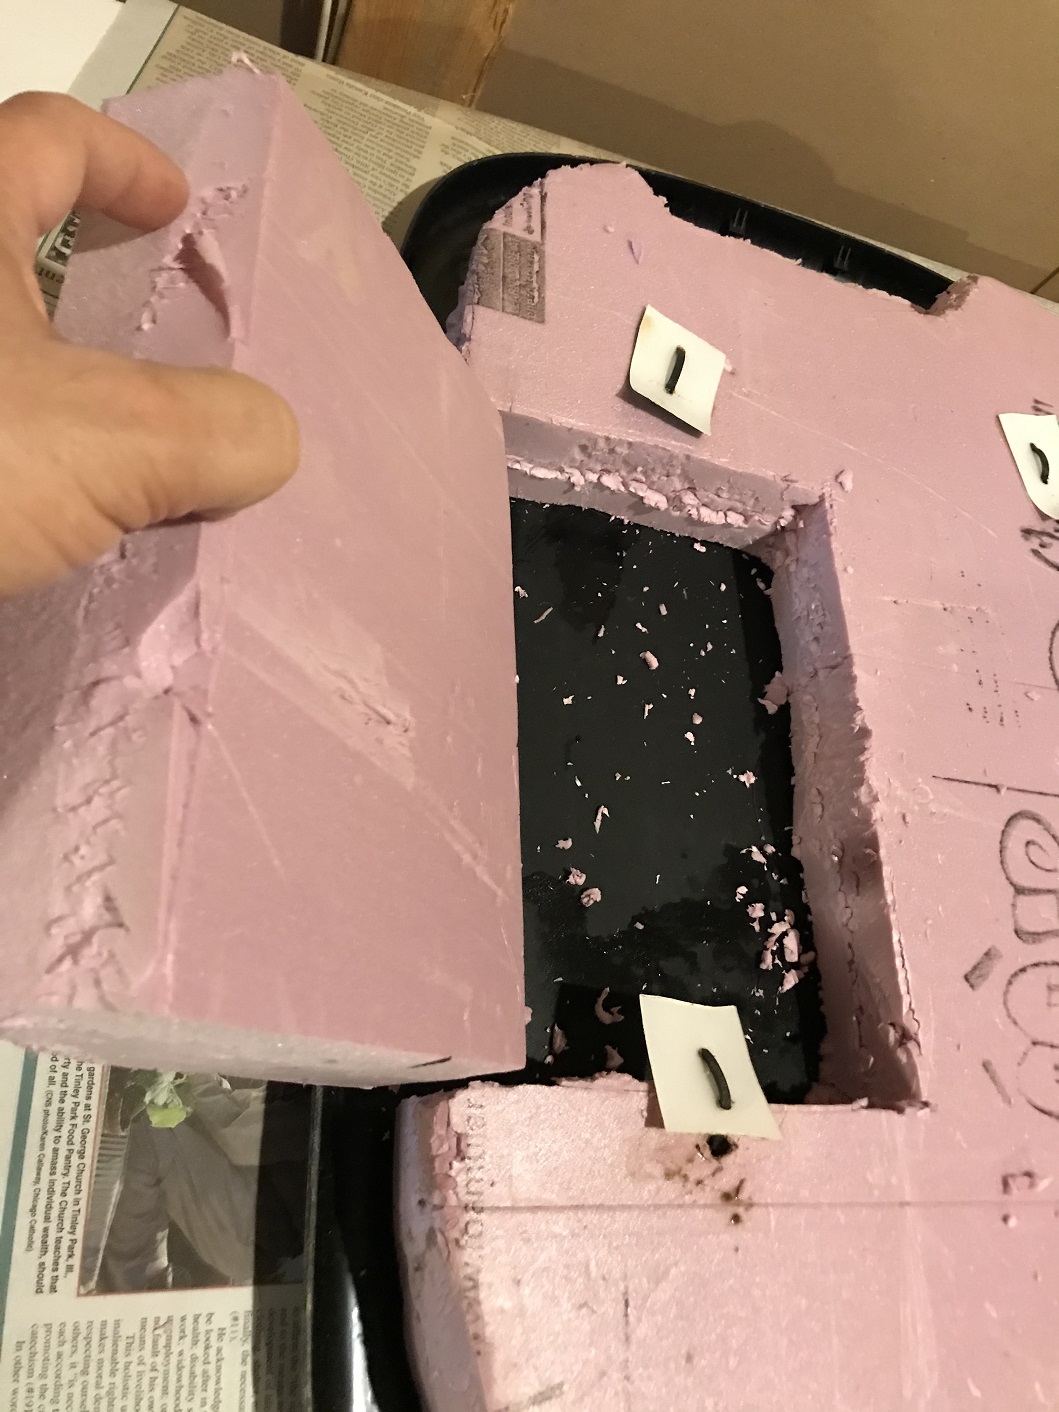
So to fix it, I cut a new piece of insulation, then cut the lid to match it as best I could. Of course duct tape was used to cover the seams for additional measure.
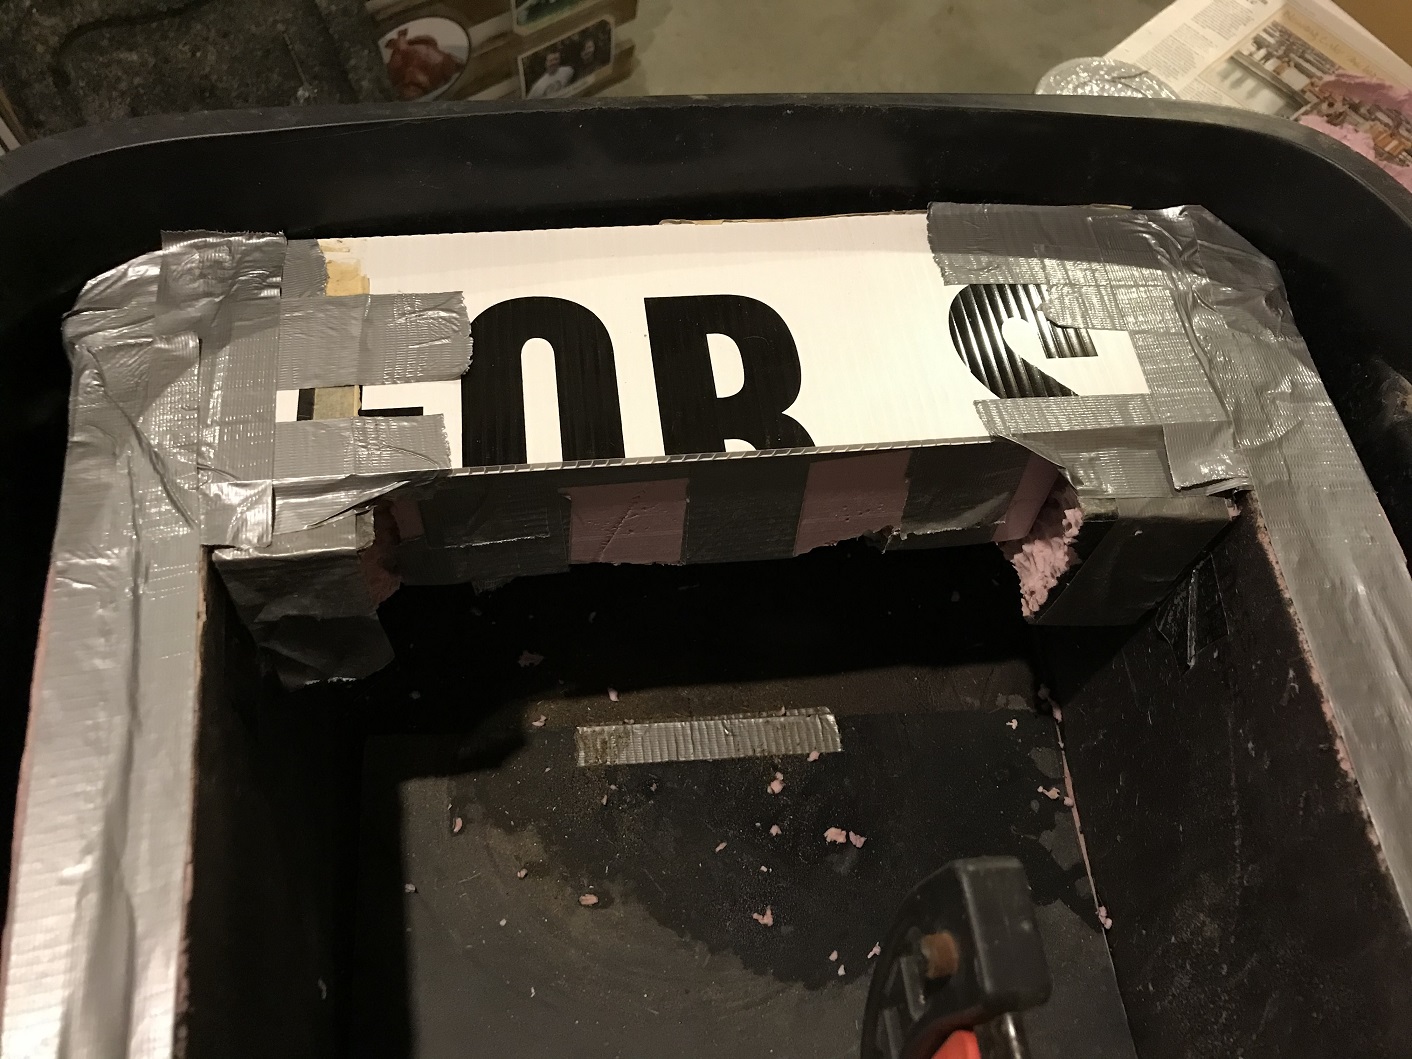
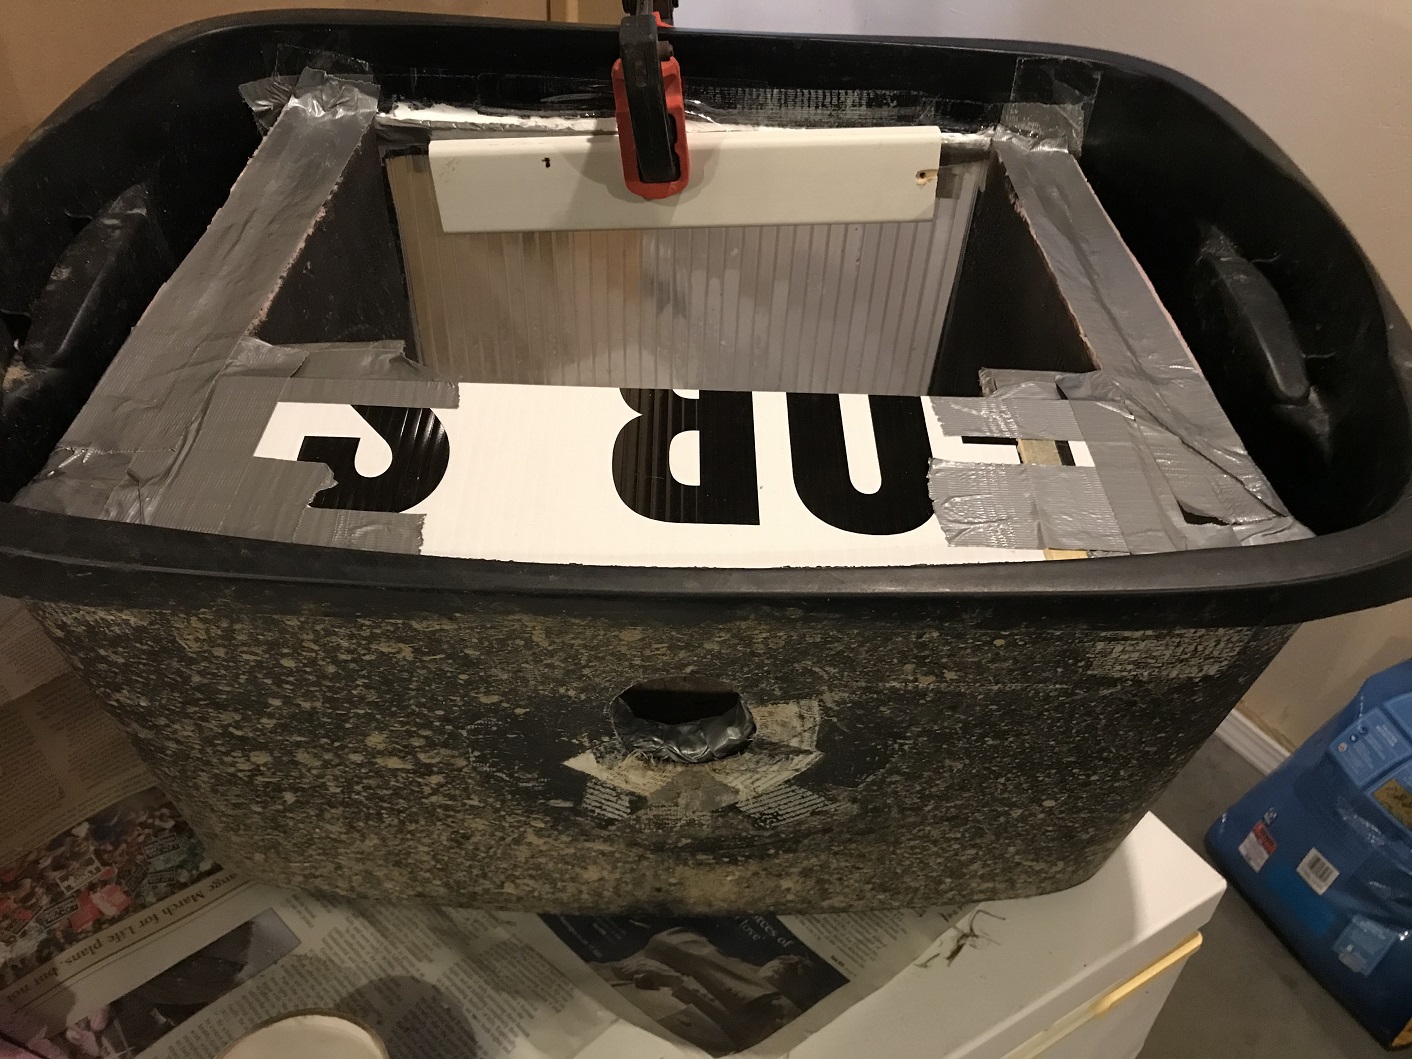
Then I cut a new piece of corrugated plastic from my ‘For Sale’ sign I’ve been using and placed it on top of the cavity where the chicken put their head into. I had to trim some of the side insulation pieces to recess the plastic so the lid would sit properly.
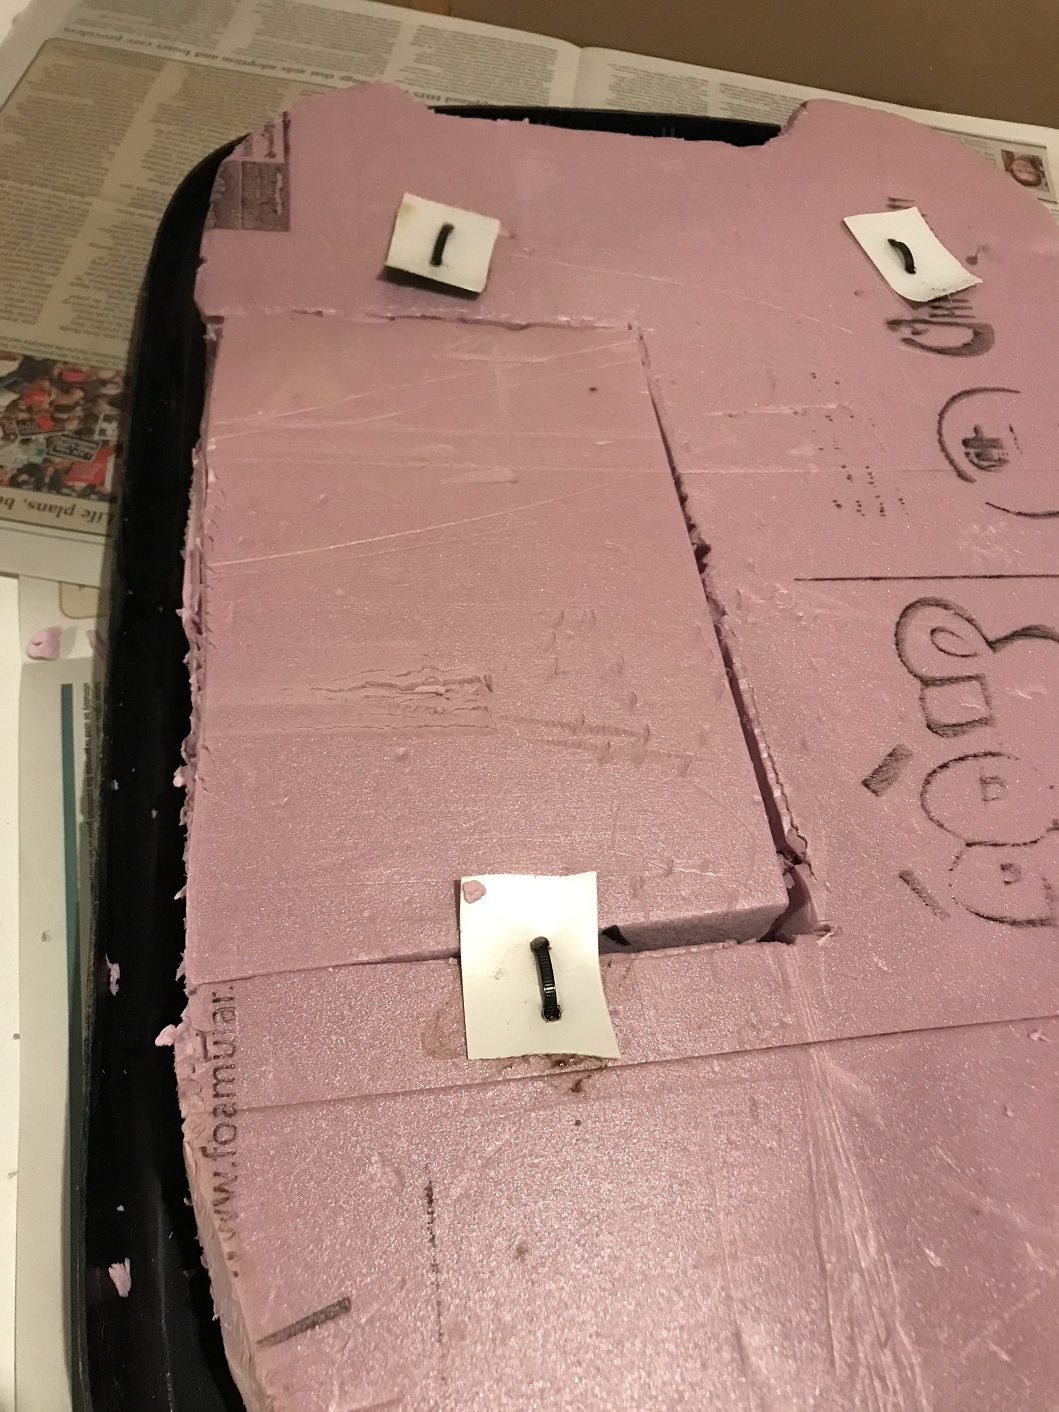
The chickens have also been pecking the top of the insulation every time we lift the lid to add water and big sections in the corner are now gone. Amazing what a few pecks a day over a couple months adds up to. So I fixed the corners. Then for good measure, I covered the top of all the insulation with duct tape to help prevent further pecking.
Head hole before applying new tape
Also, the duct tape around the entry hole keeps coming loose on the outside. I’ve fixed it multiple times, but it just doesn’t stick for long. The main purpose of this tape is to prevent the chickens from pecking the insulation on the inside of the tub, so I removed the inside insulation, as one big conglomeration, since it’s all taped together but not taped to the sides or bottom. Then I put the tape on just the insulation, where it seems to stick the best.
Finally, when I pulled the inside insulation “cluster/conglomeration” out, it was a perfect opportunity to use come caulking to seal in the Twinwall Polycarbonat. I previously used tape, but it was coming lose and given how well the waterer is working, I figured it was time to do something a little more permanent by adding a bead of calking to the inside perimeter of the window.
As mentioned in the first post, the water inside will still freeze, especially at night, that’s not the goal. The goal is to keep the water from freezing in order to give the chickens an extended period of drinking time. If it’s sunny, the temperature can drop in the mid 20’s at night and 32 during the day and the sun will melt the water that froze overnight in a couple hours in the morning.
We’re looking at weather in the teens and below zero in the coming weeks. That means we’ll need to go out and dump the frozen water, which is why I use a rubber bowl. When we replace it with warm water, if it’s sunny I don’t expect it to freeze for the rest of the daylight hours, even at those temperatures. If it’s cloudy, we’ll check it and maybe need to refresh with warm water later in the day.
This really doesn’t need to be a separate post, but I didn’t want to combine it with my solar tire tub post since I consider that a failure.
My father-in-law gave me these feeders, so I decided to use them in the initial phase of the coop build. My thought was to build a PVC feeder system that we could add feed from outside the coop. This was because roosters are mean to little girls.
Now, we no longer have a rooster and I’ve grown to like the door feeders. Having to open the door to feed the chickens is a bit more work. And a time or two a chicken has escaped, as referenced in my aviary post; however, at this point I’m no longer interested in perusing a PVC solution .
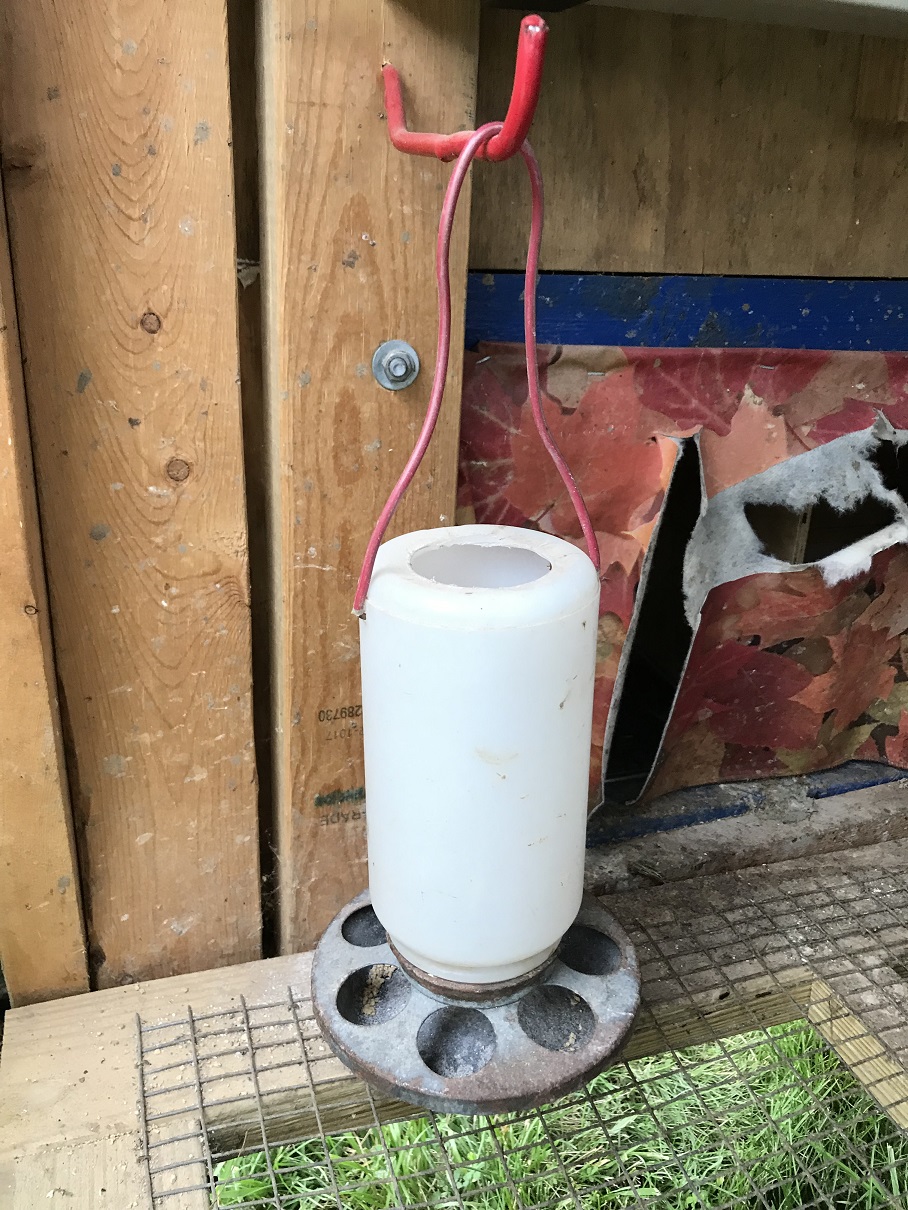
As a bonus item, here’s my solution for providing calcium for the chickens. I like the idea of providing a second feeder that they can get the calcium at-will instead of adding it directly to their feed. For this I repurposed a broken brooder waterer and an old brooder feeder base I picked up. The plastic waterer was cracked and not holding water, so I cut open the top to be able to fill it from the top, and drilled two holds for the hanger. A scrap piece of house wire inserted into two drilled holes acts as a hanger.
Recently I realized I didn’t do a post on my solar tire waterer and that it’s on the outline for my initial build. In my opinion it was a failure and I guess why I overlooked it. But, I want others to be able to learn from both my successes and failures so here goes.
I researched ways to keep water from freezing and the tire idea intrigued me so I built one. I thought I had an ace up my sleeve, I’ll explain.
So I got a tire and put a board across the bottom for the pan to sit on. This was to insulate the pan from the ground. The instructions said to fill the tire with insulating material, plastic seemed to be the most common material so I filled the tire with old tarp scraps. I got a black plastic oil pan that fit the tier pretty well and I was off to the races.
And my ace in the hole? One of our small blue-ice bottles, unfrozen obviously. I saw people putting a dark ball in the water to move the water and attract heat, thus helping to keep it from freezing. If figured if my “ball” was also partly filled with salt water, which freezes at a lower temperature, it would help keep the water from freezing even more.
The results. The chickens roosted on the tire during the day, frequently butt side toward the water, and made a mess in the water. It was hard to keep the water clean. The tire setup did help keep the water from freezing, a little. It was fairly easy to dump frozen ice out of the pan or to melt it with hot water. The blue ice bottle seemed to help, but I’m not sure if or how much better than just adding a ball.
Marshmallow seems to be my common companion
The end result was I finished the winter with it and moved back to a standard ground waterer as soon as I could. The tire was thrown in a corner, pan and all, and I didn’t touch it until I grabbed a picture the following February for the solar water post. It’s still sitting unused.
For a better solution, check out what I used last winter. This is the best solution I’ve found.
 Since the last Monday in May is a bit of a sneak and just snuck in on the last day, I thought a I’d post this picture. One of these chickens is a sneak, it’s not like the others. Due to a shipping issue we received a few layers this year with our regular Brothers order. Can you find the layer in this picture?
 We stored them in the fall on top of concrete blocks. It keeps the wood from sitting on the wet ground all winter long and helps keep the grass from growing through the apron. But this spring the grass got away from us before we got the tractors moved and it was rooted. Being on concrete blocks, it wasn’t as bad as it could have been. Using the weed eater, I cleared the grass from the top of the apron, and it pulled free pretty easy.
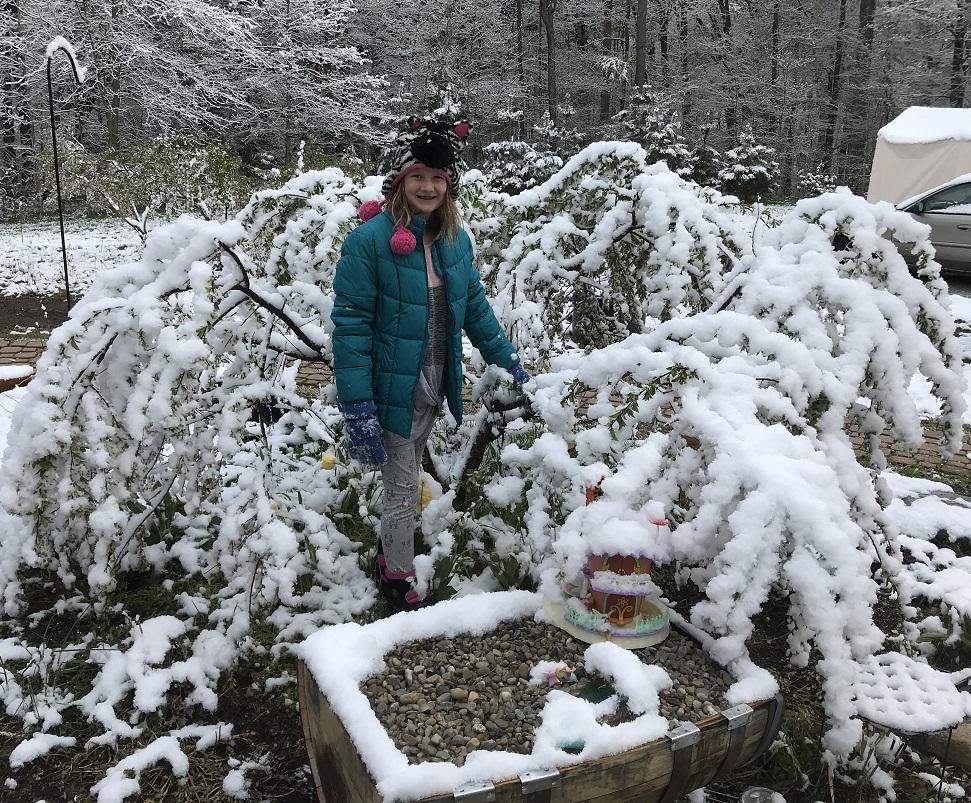

 I’ve been very pleased with ISA Browns. They are gentile, except we don’t seem to have good luck with Roosters; I’ve been told meanness is common in the light colored roosters. The egg production has been great. Longevity seems to be on par with what I’d read, 2 years being the peak for egg laying.