Brothers M. Mondays in May(MiM) is our tradition of sharing our excitement about our chickens every Monday in May. This year’s Monday’s in May focus on Did it Work? We’ll look at some of the things we’ve done and give an update on how well it worked. This week is the portable coop floor.
For the portable chicken coop, I wanted an easy to clean floor. I started out with a solid board with a laminate top so that I could easily scoop it clean. This worked OK, but it was hard to get a shovel at the right angle to do a good scrape, it required cleaning often, and to really get a good clean I had to pull the board out, and it was heavy and unwieldy.

Then I went to a mesh flooring using 1x.5 inch wire, which I don’t have a picture of. This didn’t work well at all, the .5″ was too small and droppings wouldn’t fall through. And since stuff piled up, it wouldn’t clean easily by brushing with a push broom and needed cleaned by scraping with a shovel. This one also had a 2×4 that went the length of the trailer that covered a support bar and 2×4 supports that spanned width. These also caused droppings to quickly build up. I did make some improvements by notching the frame where it was binding and cutting the width a little shorter so it slid in and out much easier. Below is the next iteration, but you can see the center board and notch.

Then I switched to a 1×1 mesh on the same frame and replaced the 2×4 that went the length of the trailer, pictured above. I also replaced the 2x4s that spanned the frame with 2x2s. This worked pretty good. The chickens seemed to have no issues navigating the bigger mesh and more stuff fell through; however, the center bar that runs the length of the trailer, directly under the long 2×4 that I removed, would still get piled up quickly. But mainly it was just the amount of poop a chicken does at night while on the roosting bars, which are over the long center bar, that caused problems keeping it clean. Poop piled up and was quickly above the floor. This floor was easier to clean with the broom, except for the areas where things backed up from below the wire mesh. Then I had to pull it out and use a shovel to scrape it and clean off the center bar too. Still not what I wanted.

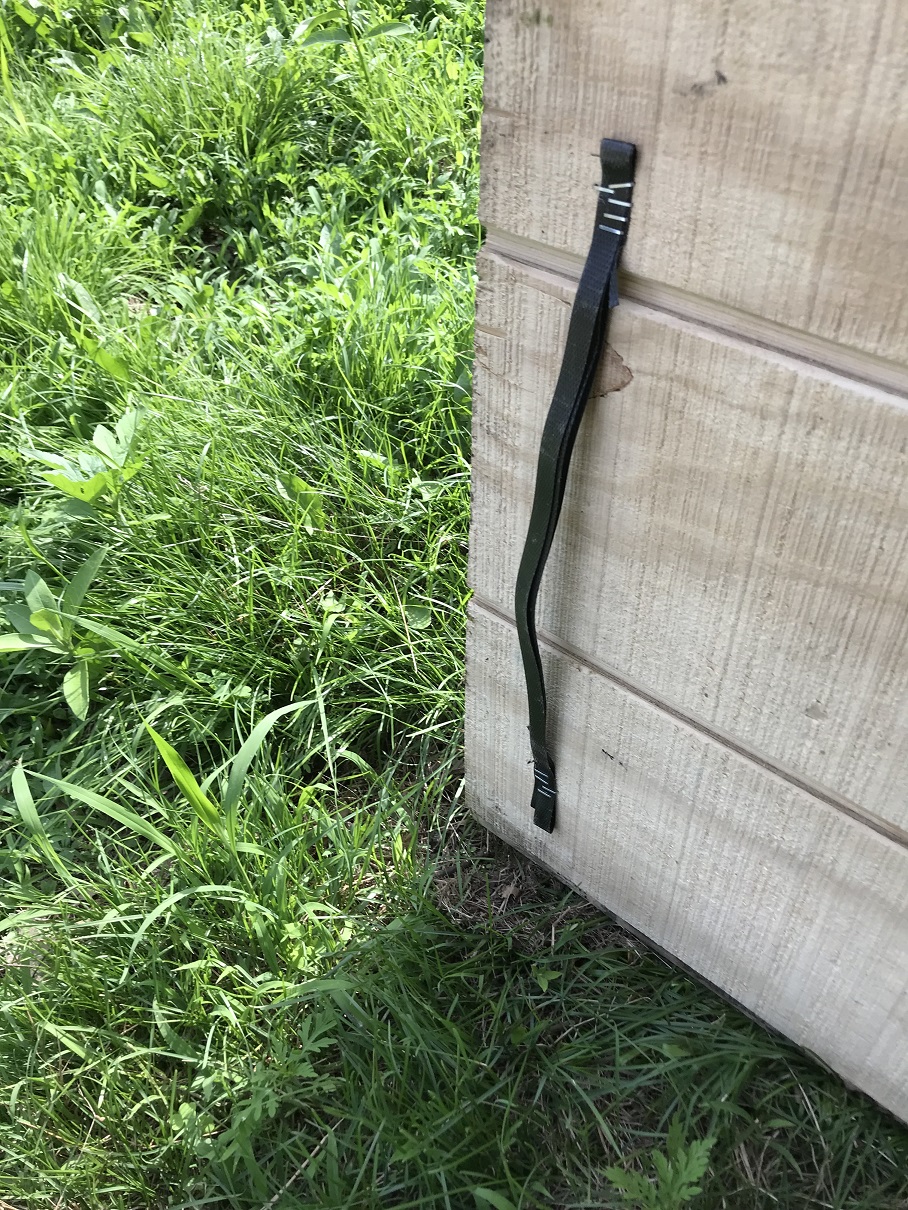
The current iteration happened by chance. A piece of the wire mesh under the perches rusted and I didn’t want to deal with it in the winter time, so I threw a heavy board over it. During the next couple cleanings, I realized that I might be on to something. I cut a long narrow board that just sits under the perches; the heavy poop area. Now, It works really well to pull the board out and scrape it off and the rest is usually easily cleaned by a push broom. I added some straping to the end of the board on the bottom to give me an easier way to pull it out. I’ve been using this for a few months now and it’s looking like this will be the solution I stay with.


 Our solution is to start the chicken tractors on the high ground and head toward the road, then reverse direction and head back toward the house. This means we need a wider area to run the chicken tractors so we don’t overlap where they’ve already been. Basically 6 lanes, 3 forward, 3 reverse.
 Next I played around with turning the chicken tractor hard in one direction. Either way I tried this, it always took more distance than I thought to get the tractor on the right path. When doing a hard turn it’s difficult to push and the side aprons bend under the chicken tractor and you have to pull them out. Again, the chickens are used to going forward and you have to be careful not to run over them with the side of the tractor.
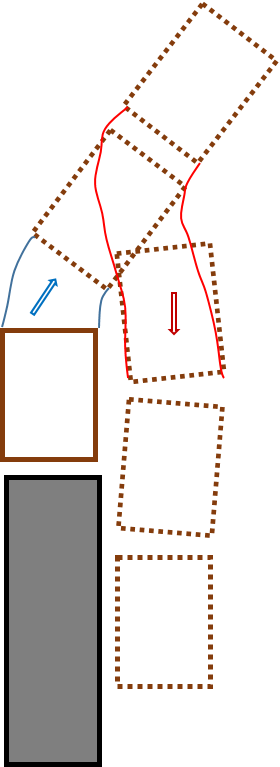 Finally I did a LONG walk forward with a medium turn to the side, then reversed direction with another medium turn and this worked much better. I modified it so instead of a LONG walk, I do a generous move of the chicken tractor twice, then reverse direction. The first reverse move is a little longer than normal, but not a Long walk. Occasionally a little corner of the previous path overlaps, but it’s under the front cross member and not a problem.
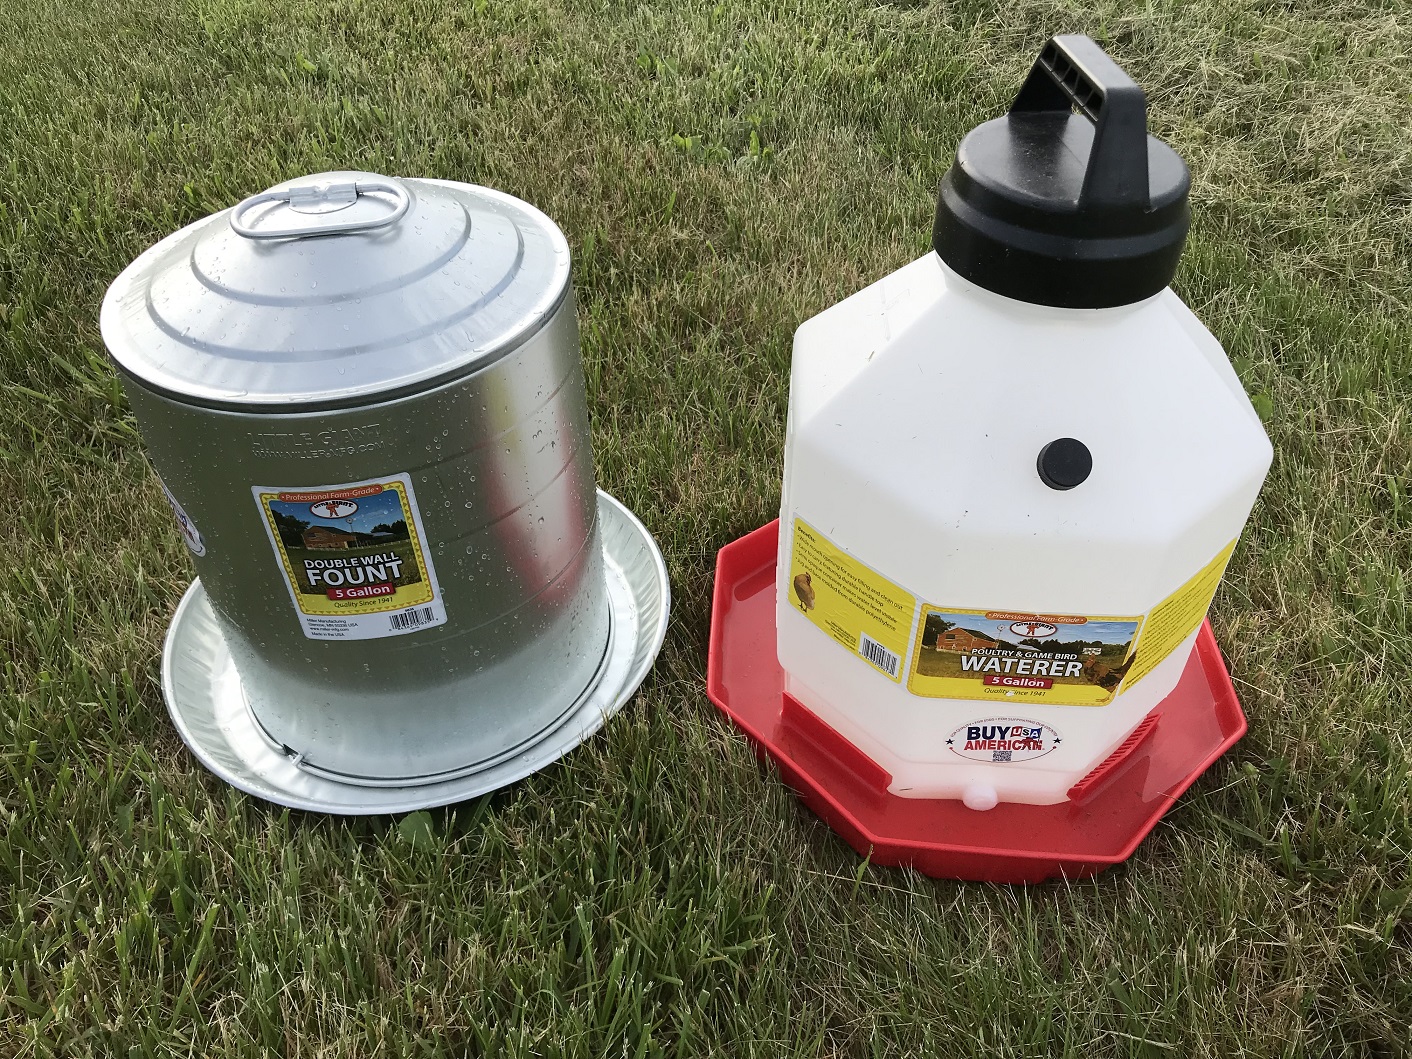
 In the early years, I adopted the line of thought of keeping food always available to the chickens. This meant 2 feeders were adequate to feed all the chickens, because they were not all hungry at one time.
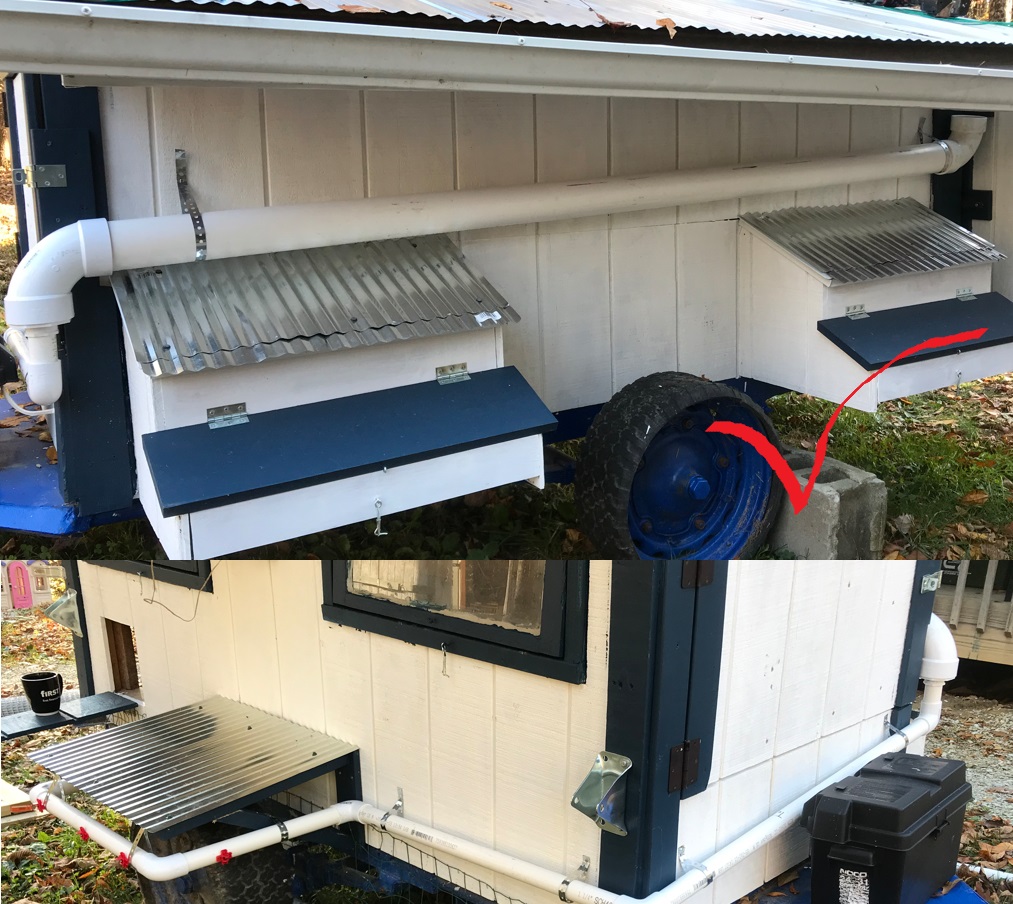
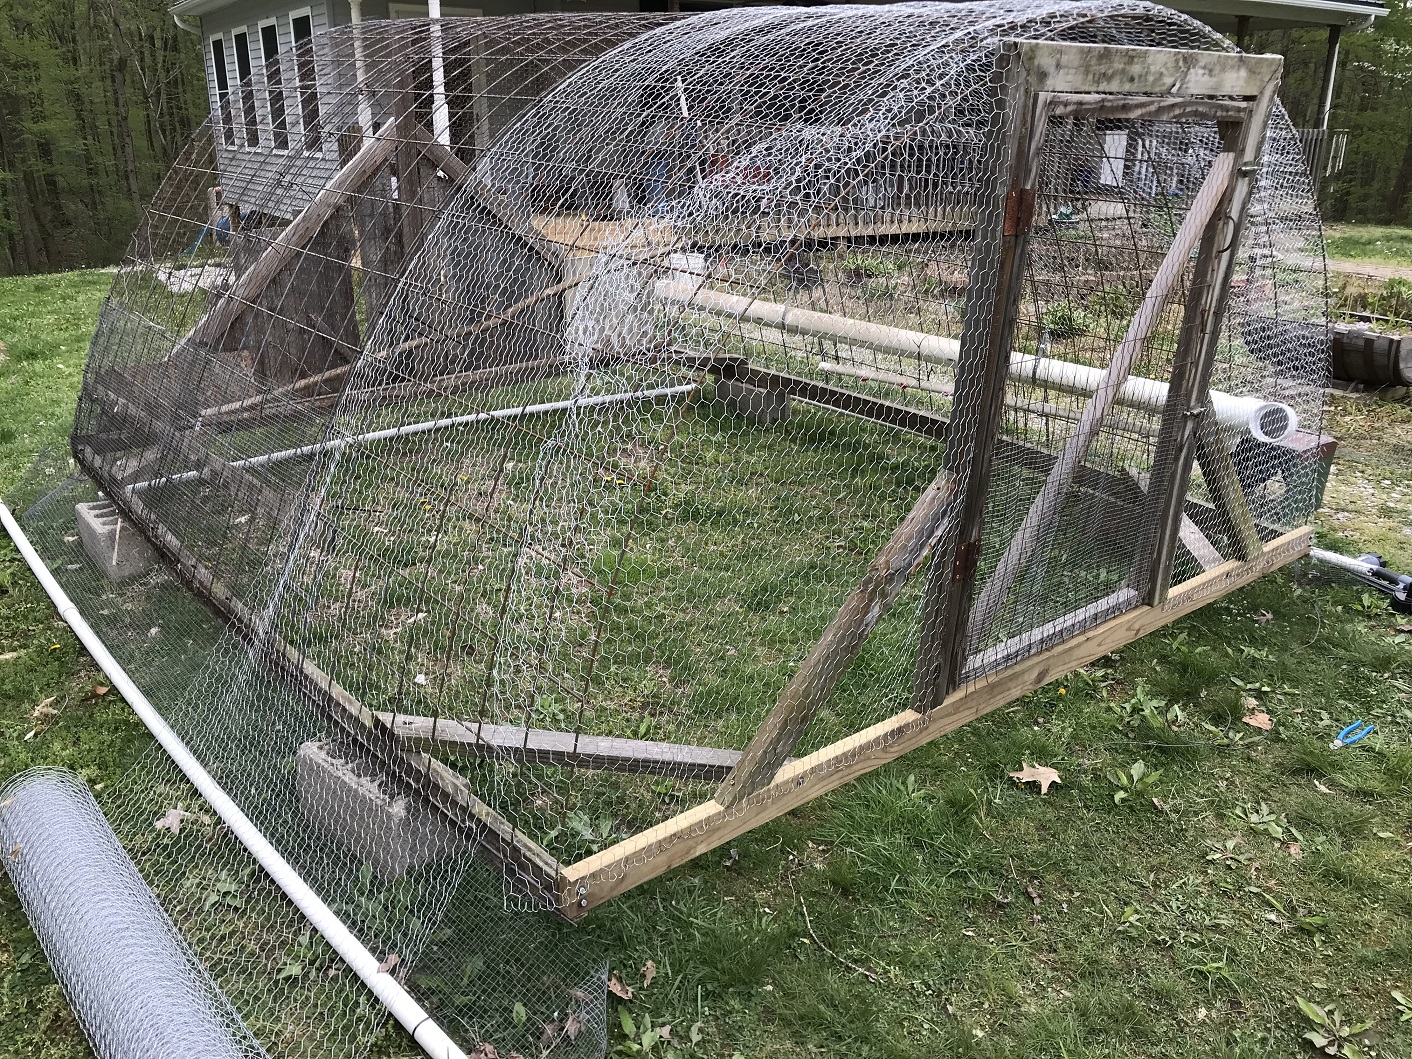 One of the two tractors developed holes in the chicken wire late last year, I think from birds landing on it, so I knew I needed to replace some of the wire this year. What I didn’t know was that ants had destroyed the front board of that tractor. Here’ a picture of what I replaced at the 11th hour to get me through this year, one section of wire over the top, new front board, and new chicken wire on the front. The 2nd tractor didn’t have holes yet, so I just added some fencing over the same area I replaced on the first. That will get us through the growing season.
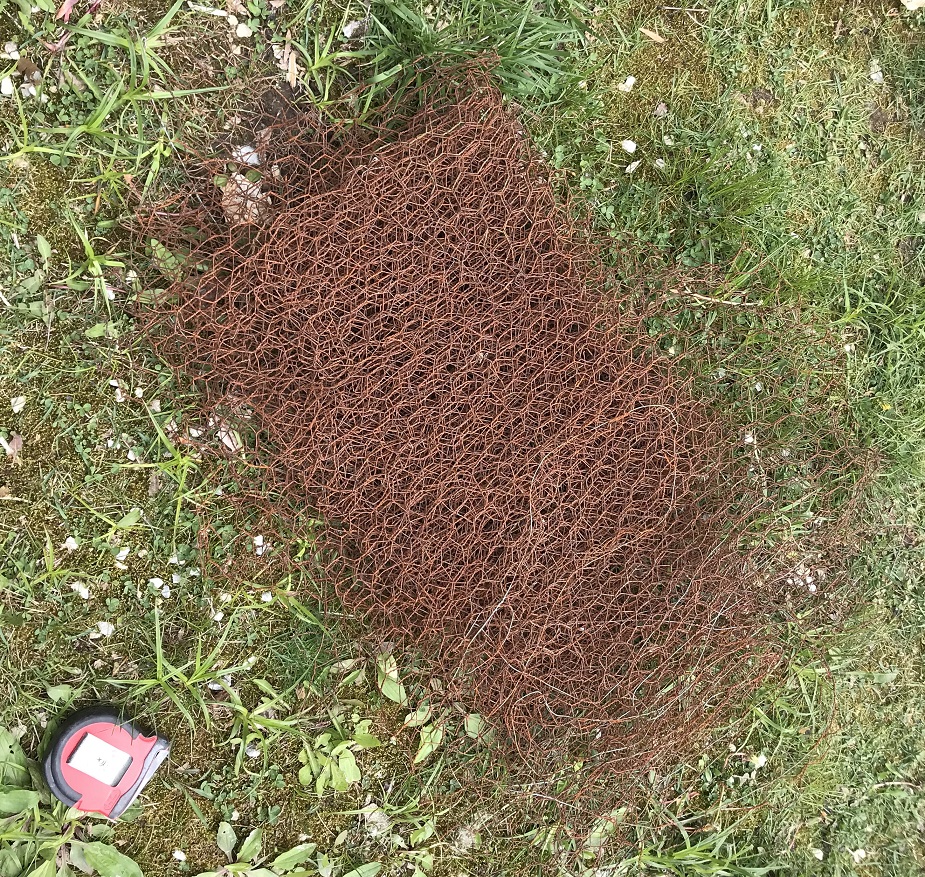 Rust is the main factor in rebuilding the chicken tractors. All the chicken wire needs replace. Some would easily break off while the rest is getting there. Here’s a flattened pile of the wire. The top, is the worst place, but the sides are not too far behind. I think next time once it appears the wire may start rusting, I’ll treat it with some anti rust spray.
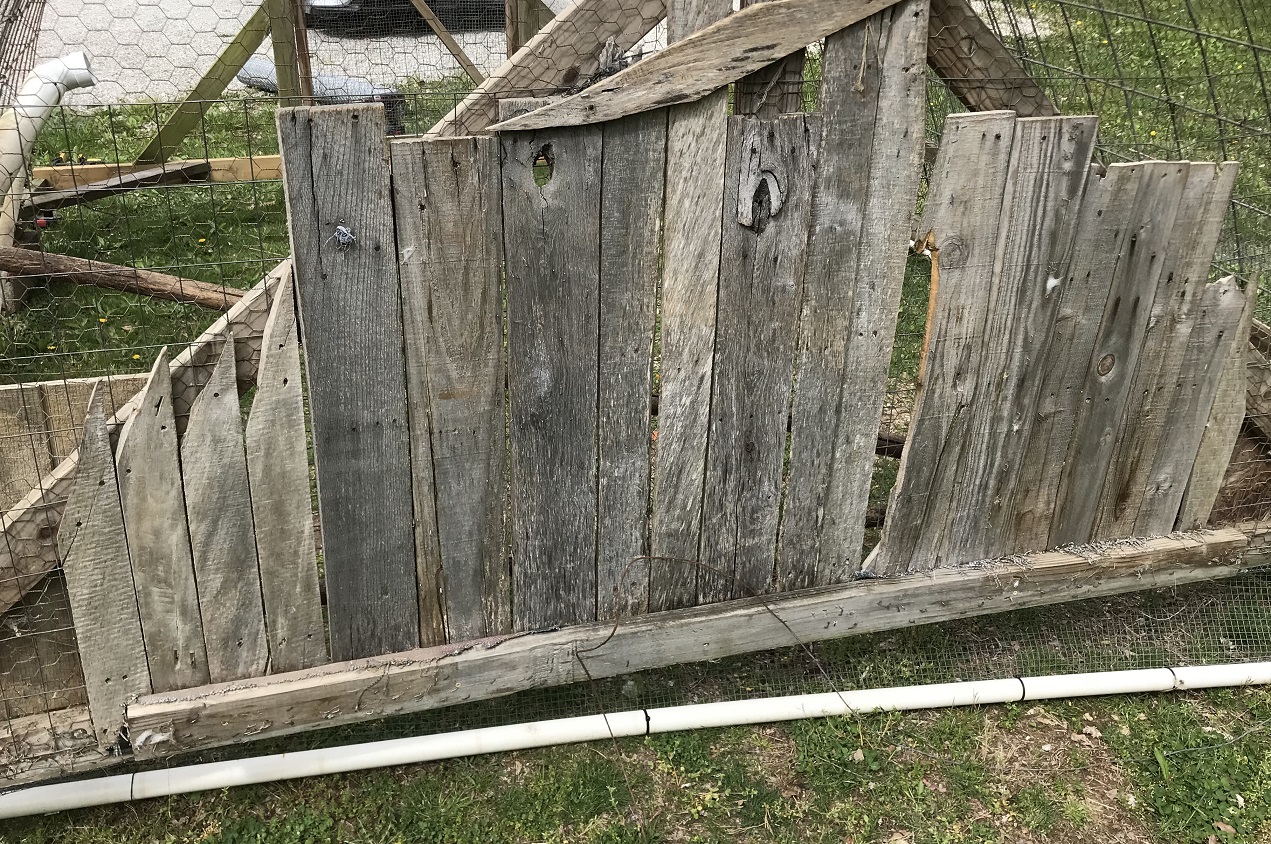
 We still needed more brooder area, but I really didn’t want to dedicate more area to just brooders so I came up with the idea of fold up brooders that hang on the wall.
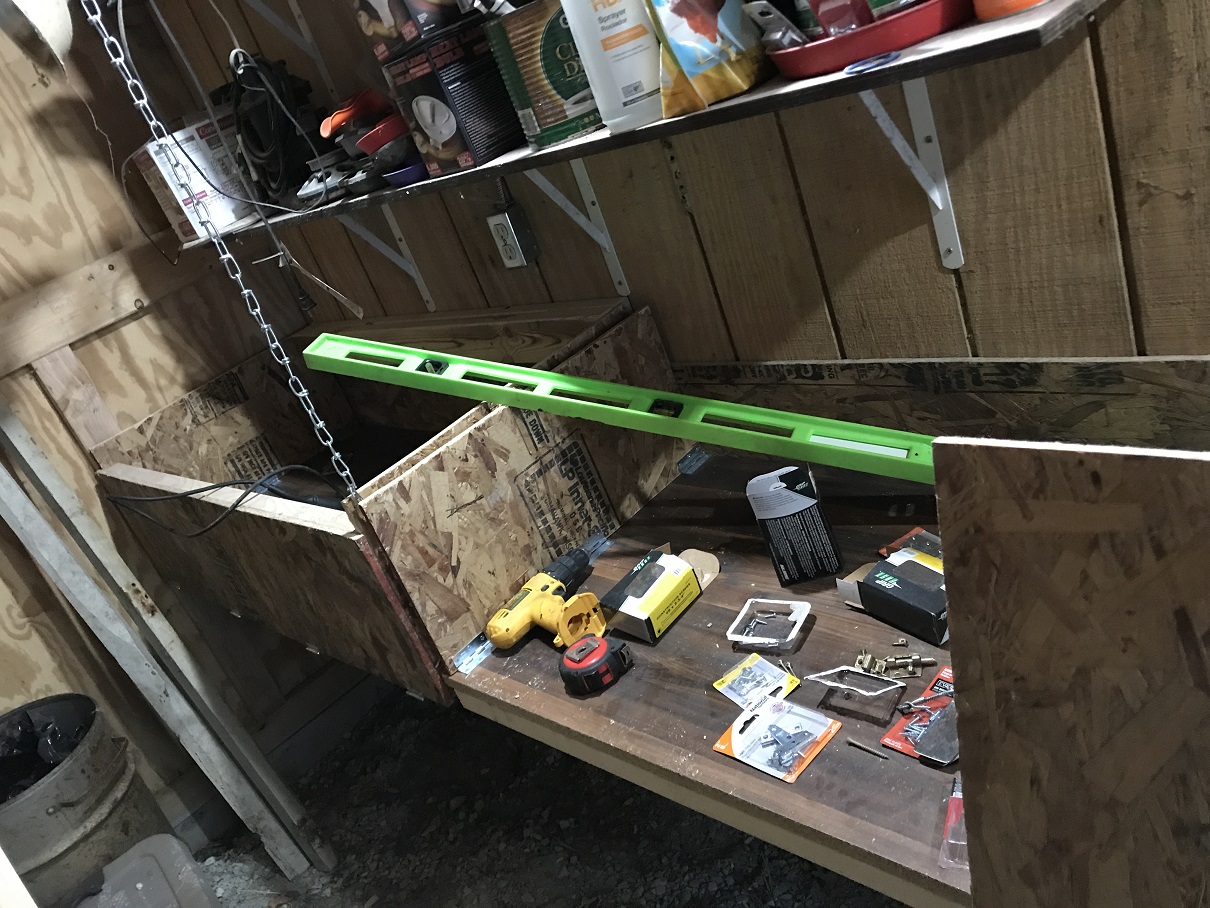 I made two 2’x4′ hinged brooder boxes. The bottom is hinged to the wall so it folds down, the two sides fold into the floor, and the front is hinged to Fold under the bottom. The lid had hinge pins so you could take it off and hang it on the folded down brooder or store it someplace else.
 To support the front of the folding brooder, I hung chains from the rafters with S hooks on either end to unhook from the brooder and remove from the rafter to store the chains away.
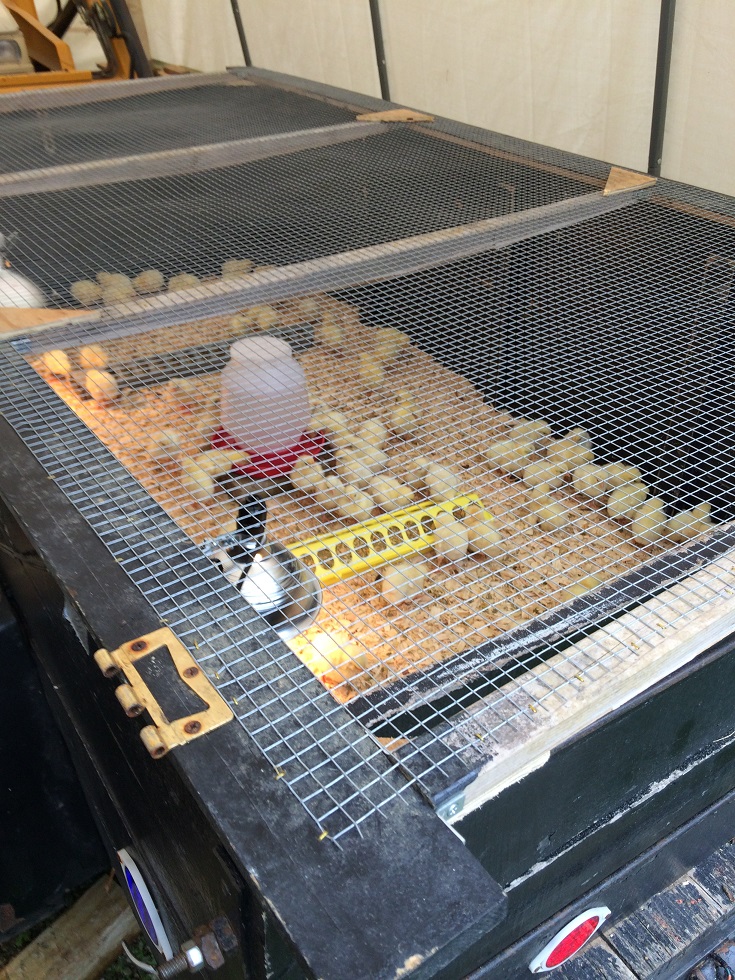
 So, I decided to take them out and make a 4×4 in the back corner. A family member made a similar brooder to this one and gave me the idea. The idea is that it’s 4’x4’x1′ so you can make it out of one 4×8 sheet. I made mine a bit taller and added a strip of wire mesh, this was to give me a little more height for waterers and feeders, and I thought I might make more and stack them for transporting the full grown grown chickens, the latter never really panned out.
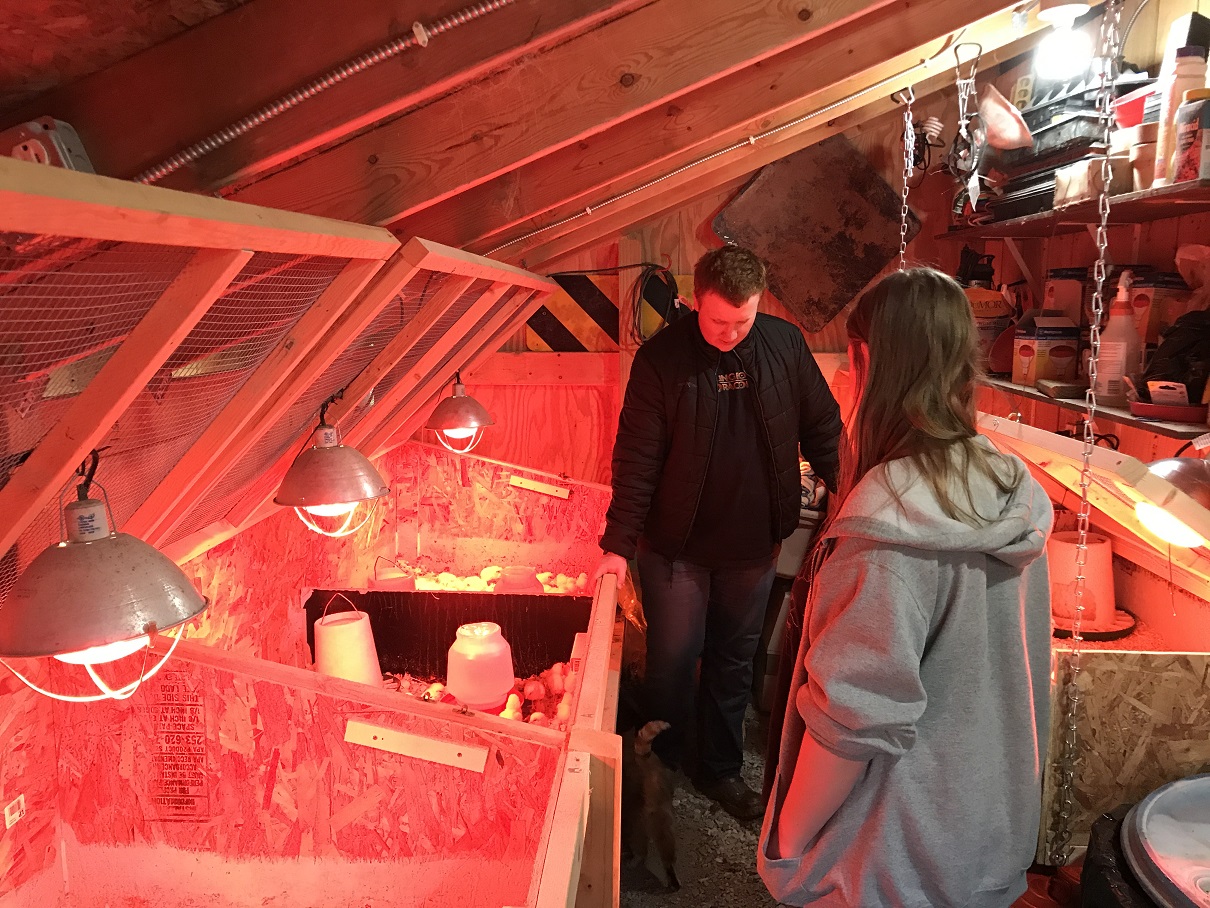


 Turns out I should have been more concerned about how secure the heat lamps were attached via the squeeze handle. One fell off and burned a hole in the floor of the trailer. Fortunately the conditions were right and it only smoldered a hold the size of a basketball instead of starting a fire. Unfortunately I cannot find my picture of the hold. After that I fastened the lights securely to the lid, which looked pretty ominous from outside the tent.
 The down side of the trailer was running off an extension cord, how deep the trailer was for reaching onto it, and we outgrew it once we started raising more than 100 birds at a time.
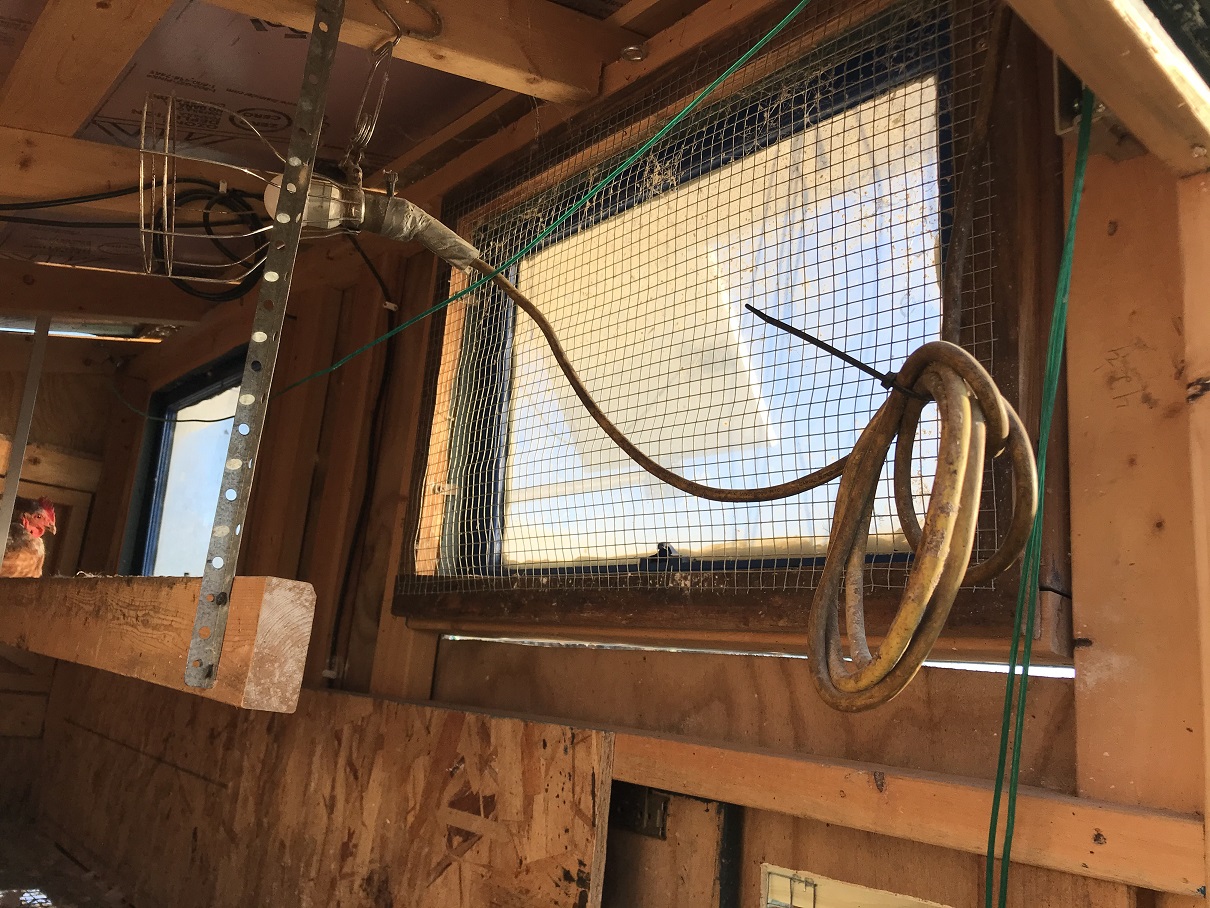 I touched on the light for the Portable Chicken Coop in the
  I purchased a pack of
 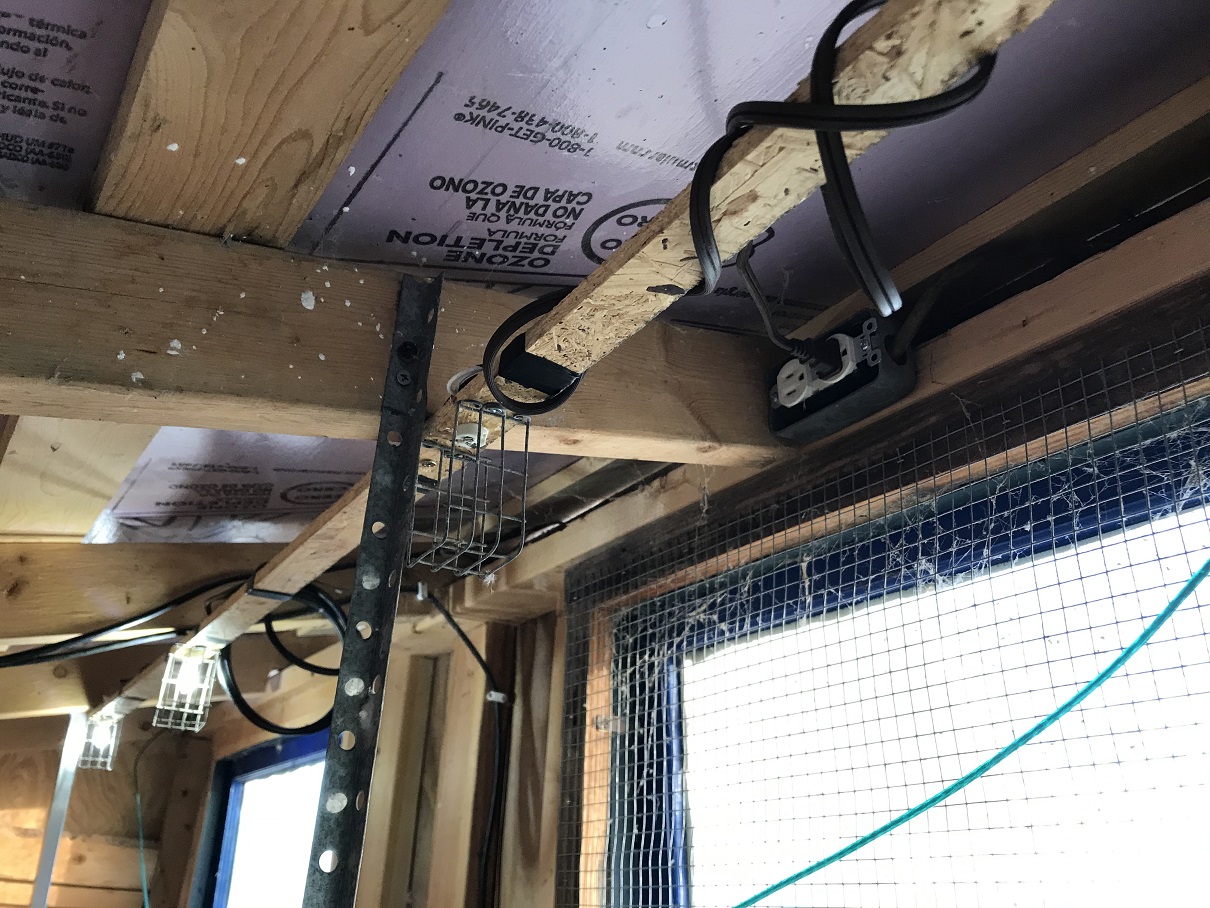 access to the wires on the back side for easy soldering and such. One of the main issues with breaking the bases was that I struggled getting the right angle drilled for the screws on the round pipe. A flat piece of wood should allow me better control on the angle.
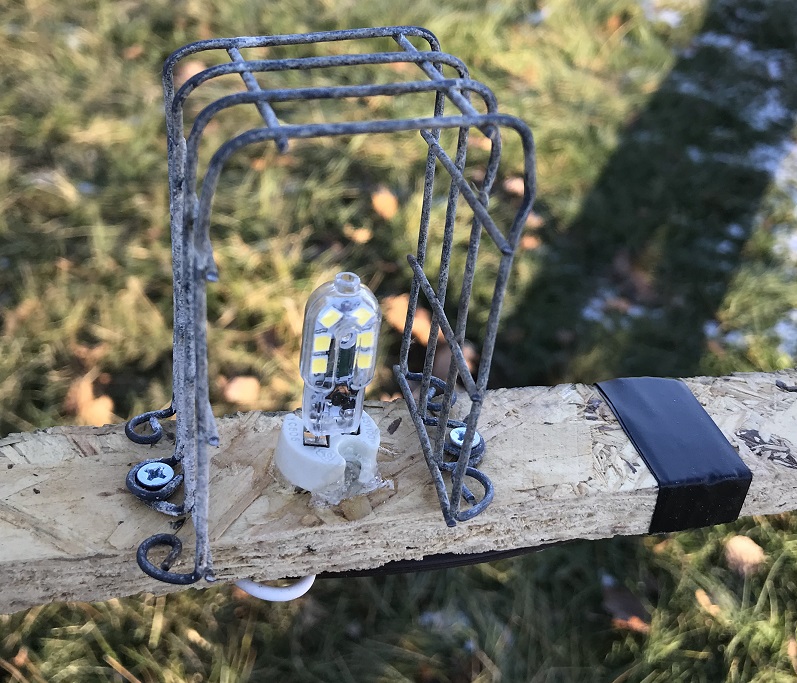 Originally, I wasn’t planning on any protection for the lights, thinking the light was high enough on the ceiling that it wouldn’t get hit. However, when I did a fit on the lights, the clearance really wasn’t’ that high, so I decided to make some protectors. I had sections of 1/2 x 1inch chicken floor that I replaced with 1×1 wire. I cut 3 pieces of this, curled the wire ends so I could attach it with screws and voilà protected lights.