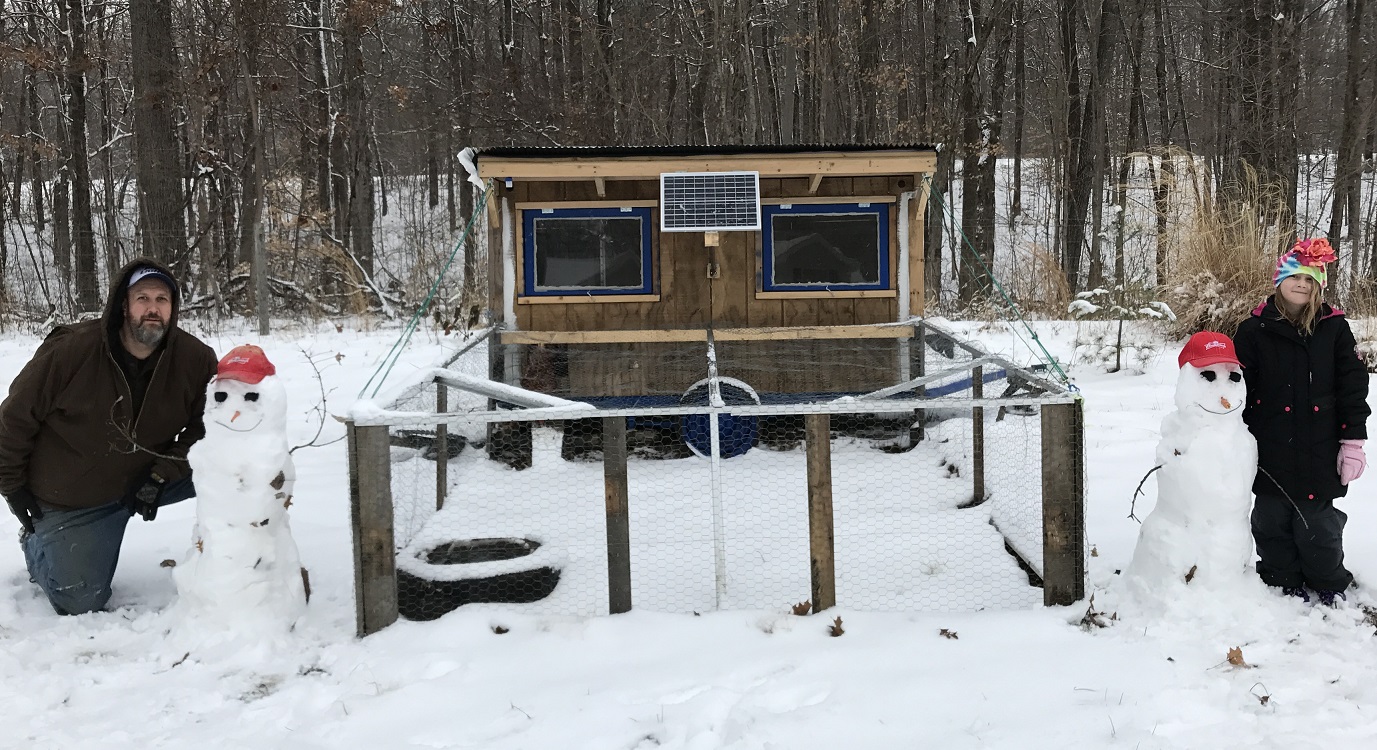
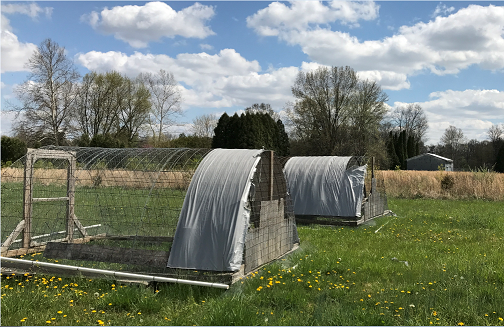
The goal is to create a portable chicken coop to pasture our egg layers. I’ve seen a lot of ‘the best coops’; however, I believe the best coop is matched to the individuals needs/wants. I’ve not seen any coop that does exactly what I want to do. So my Best Coop is going to be unique to me. Here’s the attempt to make MY best coop.
I started this project late in the year and winter was approaching. I wanted to get the layers in to a new home and not be building outside in sub freezing weather. So wanting to get something workable quickly, I’m building this project in phases. How quickly all the phases get done depends on the weather, but I’m expecting late spring/summer before I get it all done and the kinks worked out.
There will be several blogs in this series, so this will be a jump page to get to all the blog posts from one spot. Posts will be linked once they are written.
Desired results:
For me, the result should provide a coop that’s easy to move and requires minimal effort to care for a flock of 7-20 birds. It will be like a chicken tractor and include an enclosed aviary. Every touch-point of caring for chickens will be examined to determine the best solution for the birds that also fits our principles and lifestyle.
Here are the details on the areas of the build that I’ll use as the jump page
 Phase I
- Planning
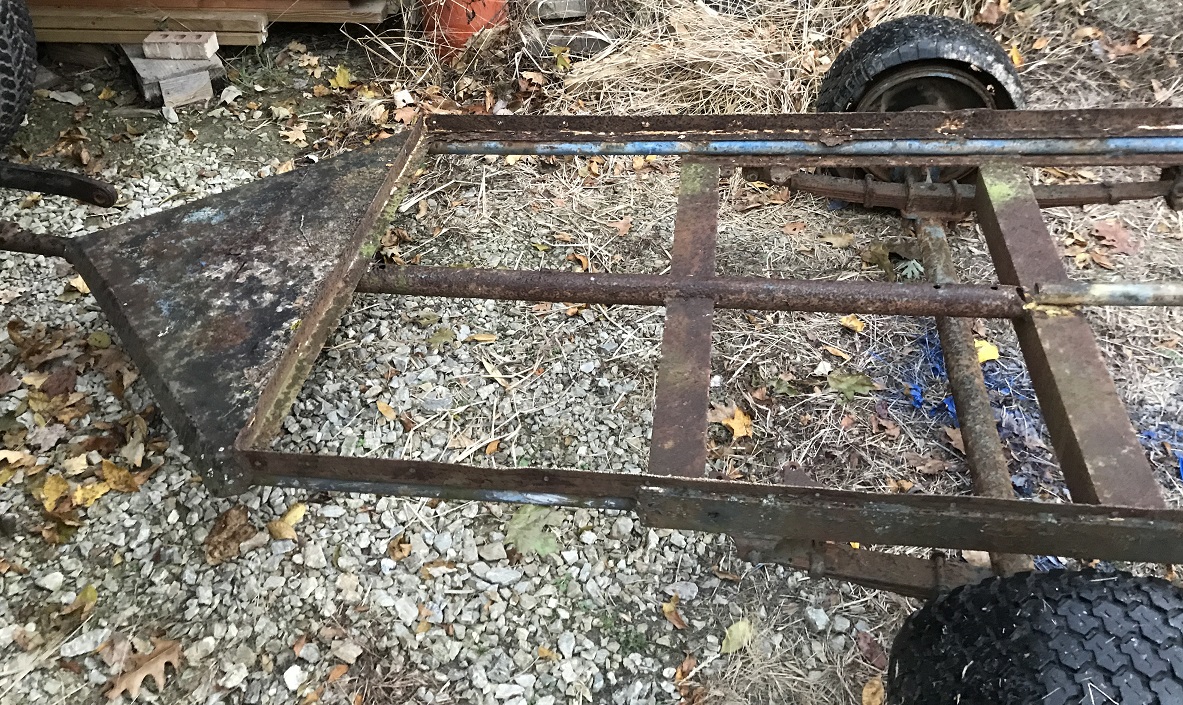
- Structure 1
- Frame
- Doors
- Floor
- Structure 2
- Tires
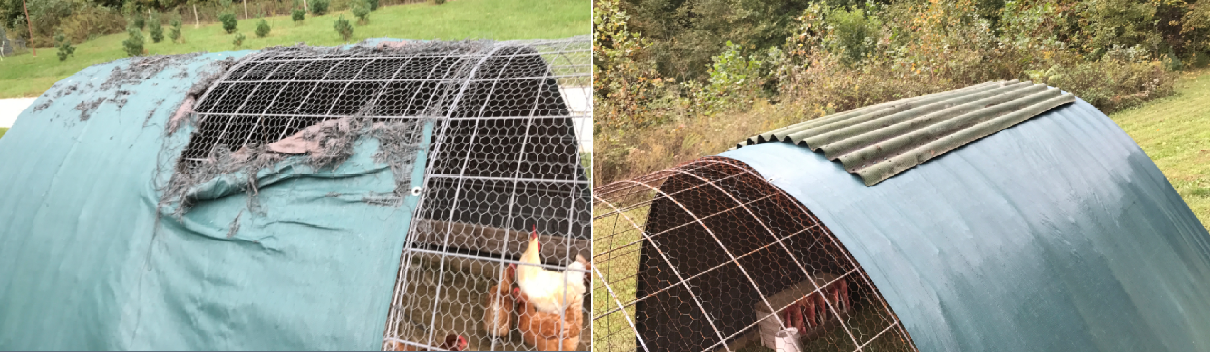
- Roof
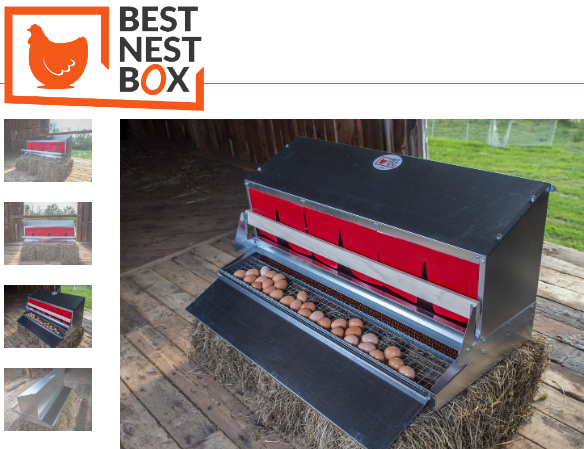
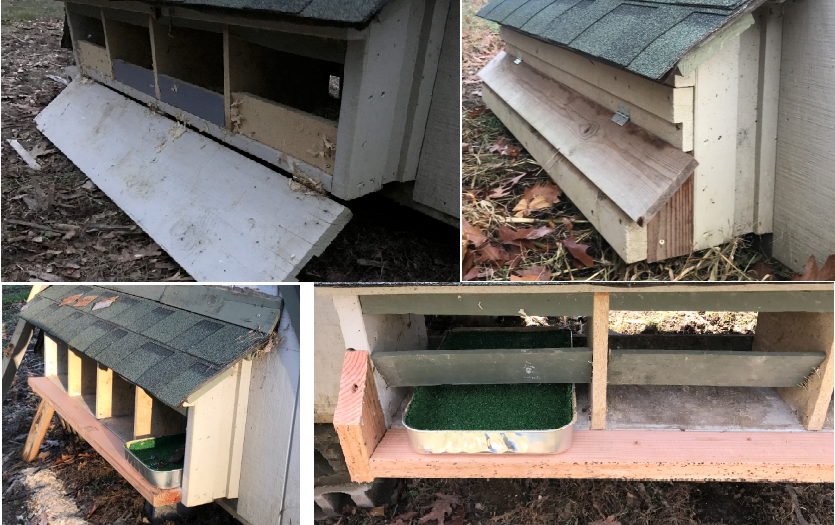
- Roll away nest boxes
- Aviary
- Initial food and water
- Phase II
- Electronics
- Solar Panel, Charger, and battery
- Automated Door and Light
- Solar heated waterer
- Window Screens
- Revisiting the floor and enclosing underneath the coop
- Nipple watering system (and Front Awning)
- Aviary revisited
- Lighting Revisited
- Electronics
- Phase III
- Rain Catchment system (possibility)